Earthbag House Update: Work in 2016
We’re long overdue for an earthbag house update! In today’s post, I’ll give an overview of what Keith has been working on this year. In upcoming posts, I’ll dive into more detail about each aspect of the project.
Last winter, Keith had a job up in North Dakota. While he worked up there, Lee (Keith’s dad) made arrangements for roofers to come and put the roof on, since the earthbag walls were complete.
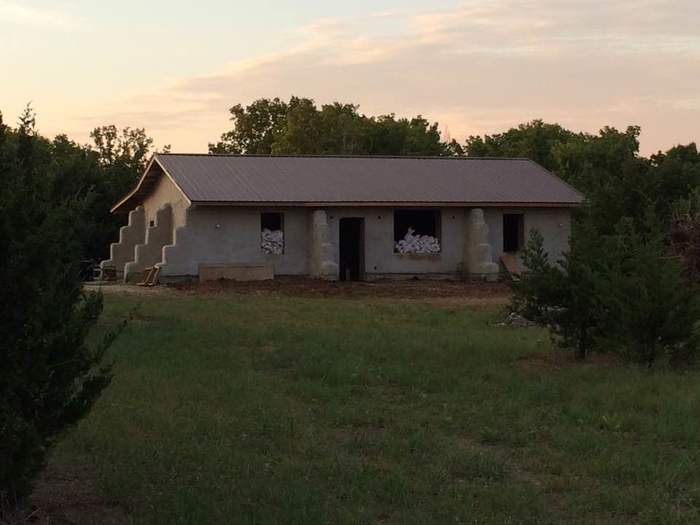
By the time Keith and I got back, the roof was nearing completion. The next project was to add more layers of papercrete to the earthbag walls. In addition to providing protection for the walls, papercrete acts as insulation for the house.
Keith, Lee, and Frank (Keith’s uncle) added layer upon layer of papercrete to the house over the following weeks, working on it until it was flat and smooth. Now the house looked like a gray stucco building.
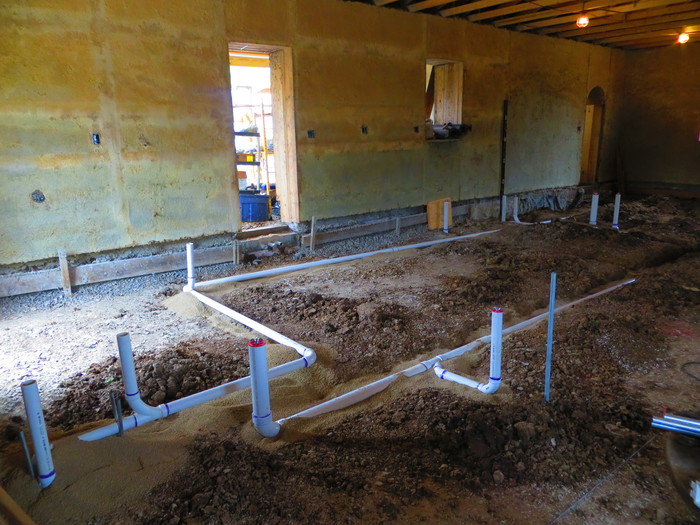
Then it was time to work on the floor. Before the earthen floor could be put in, Keith needed to finish all the plumbing for the water and sewer lines and put in any electrical conduits that he wanted to run through the floor. He also put down pipes for radon mitigation.
Things got a bit messy has he dug down into the ground and laid all the pipes.
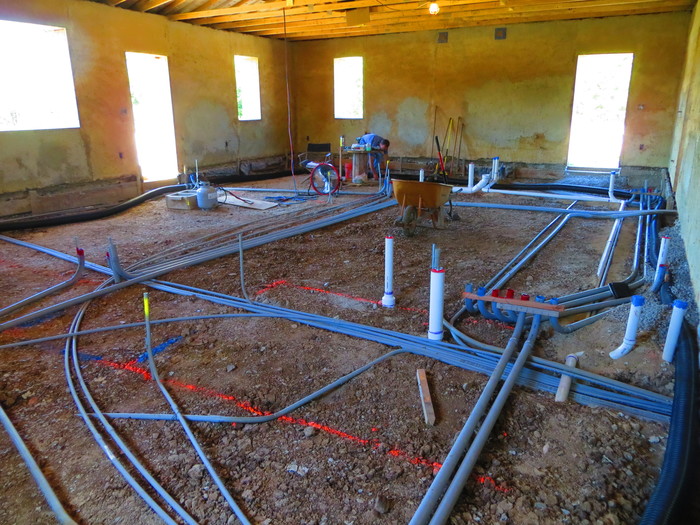
Now that the pipes were in, Keith buried them again and put down the various layers of the floor until it was time to put in the tubing for the radiant in-floor heating. When the house is finished, the floor will be automatically heated in the winter time, making it comfortable to walk on.
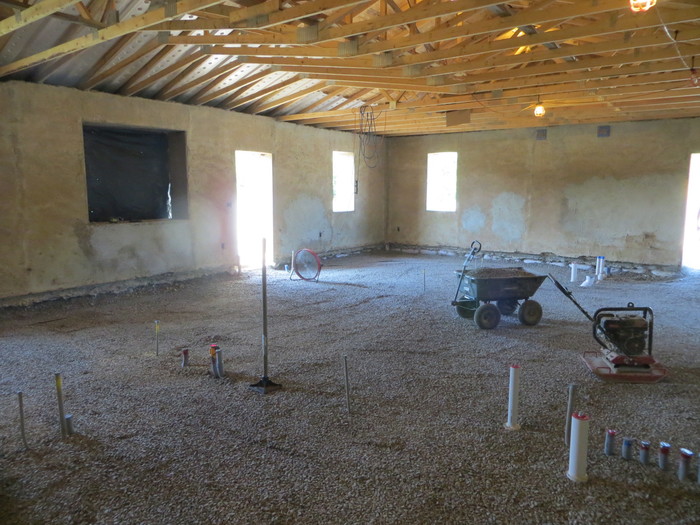
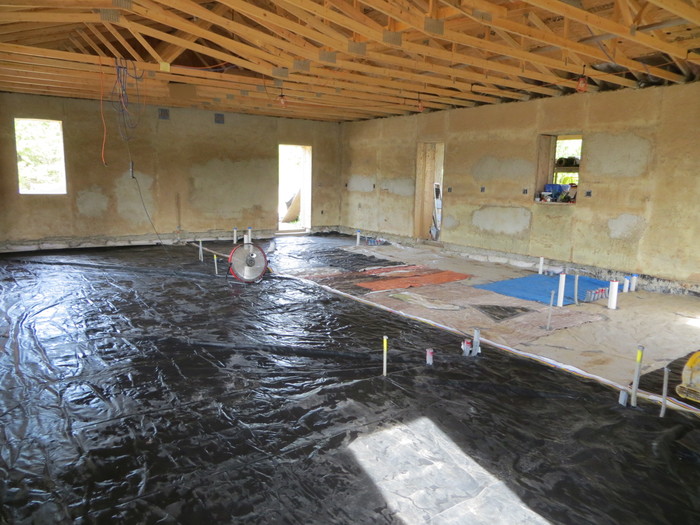
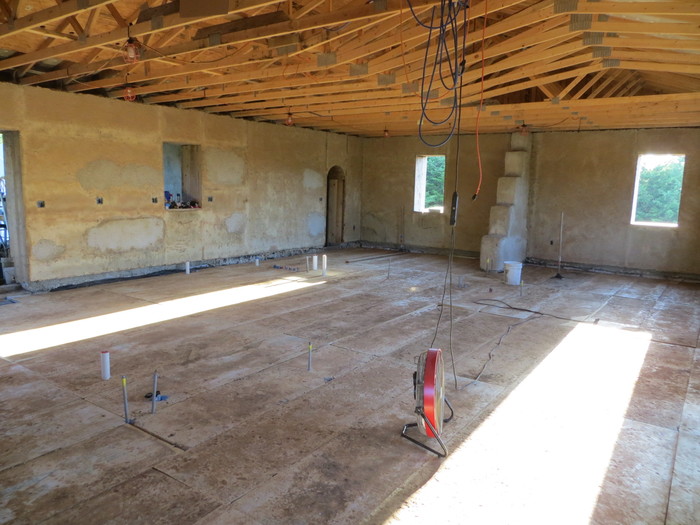
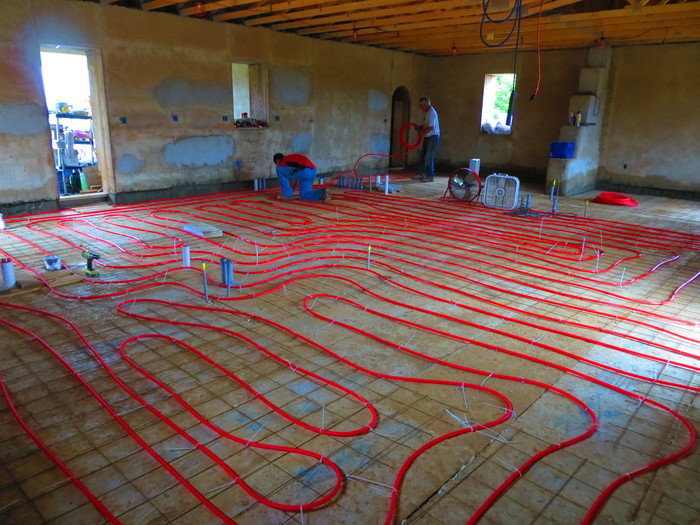
They buried the tubing in sand and then mixed clay, sand, and straw for the earthen floor.
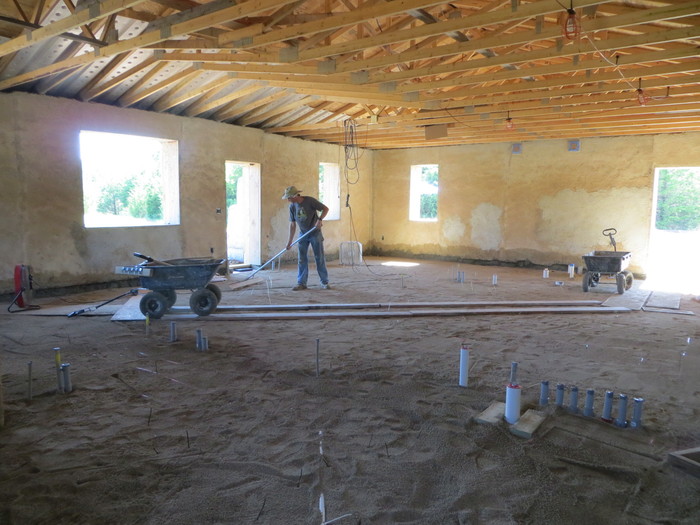
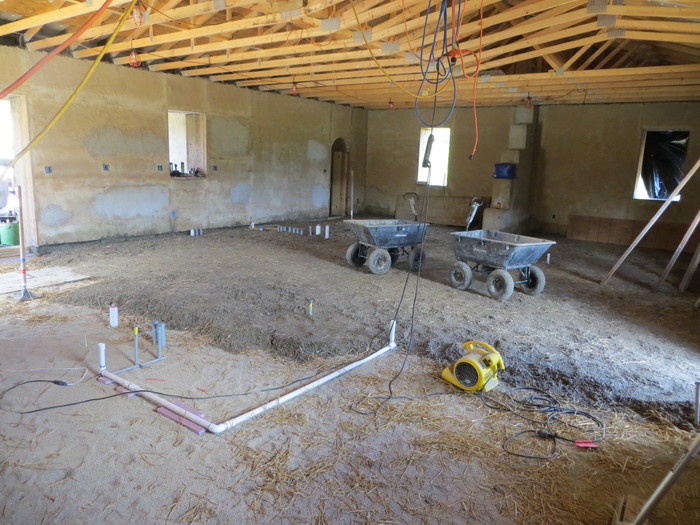
Later, smoother layers will cover this and then the floor will be sealed with linseed oil. Stay tuned for that process!
Now it’s time to cover up the papercrete with lime plaster. Lime plaster is wonderful and long-lasting–it’s the same stuff used by the ancient Romans to build structures that are still stan ding today, thousands of years later. It is self-healing (if a small crack forms in the plaster, eventually it will seal itself back over).
Keith experimented with his first batch of lime plaster in the cistern room to make sure he got it right before starting on the main living area in the house.

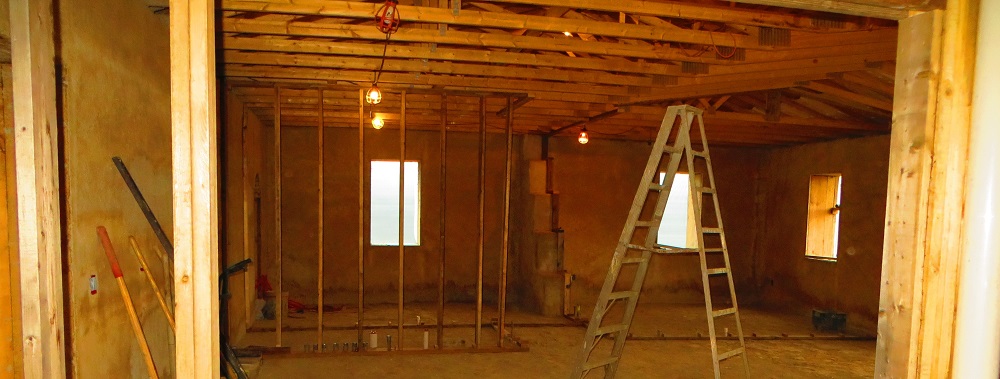
Things are moving along much faster now. The plaster is finished on the inside of the house and most of the outside. Keith also framed in all the interior walls and has begun installing the electrical fixtures and plumbing pipes.
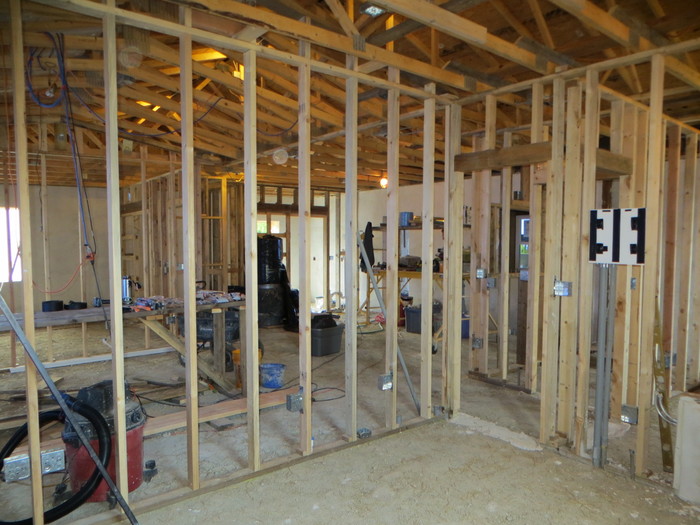
We were hopeful that the house would be finished enough for Ann and Lee to move into before winter, but it looks unlikely that it will be quite ready yet. As we’ve already discovered, things always take longer than you think they will with a project like this!
Stay tuned for more details about the work on this earthbag house, and if you want to be notified each time I write an earthbag house update, be sure to sign up to my email list here:
Feel free to contact me if you have any questions!
Enter your name and email to receive my newsletter and stay up to date!
We hate spam as much as you. Your email is safe with us.

