Cistern Part II
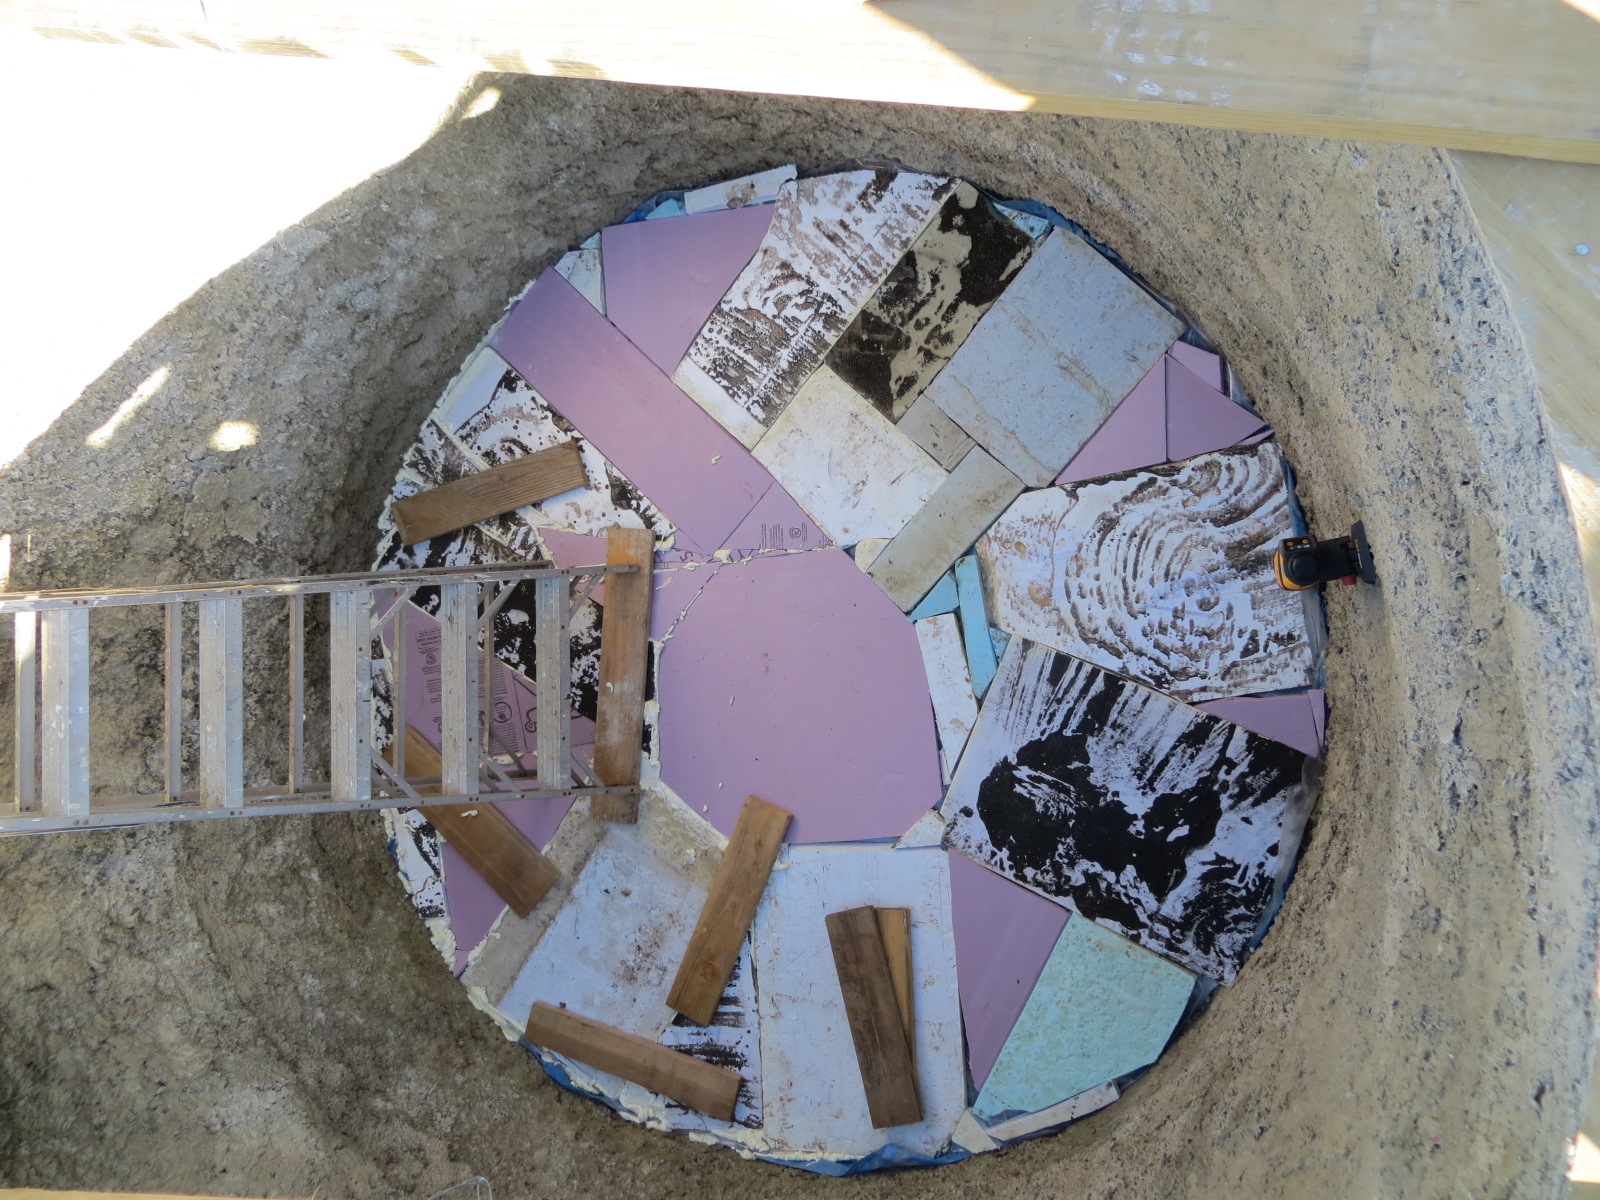
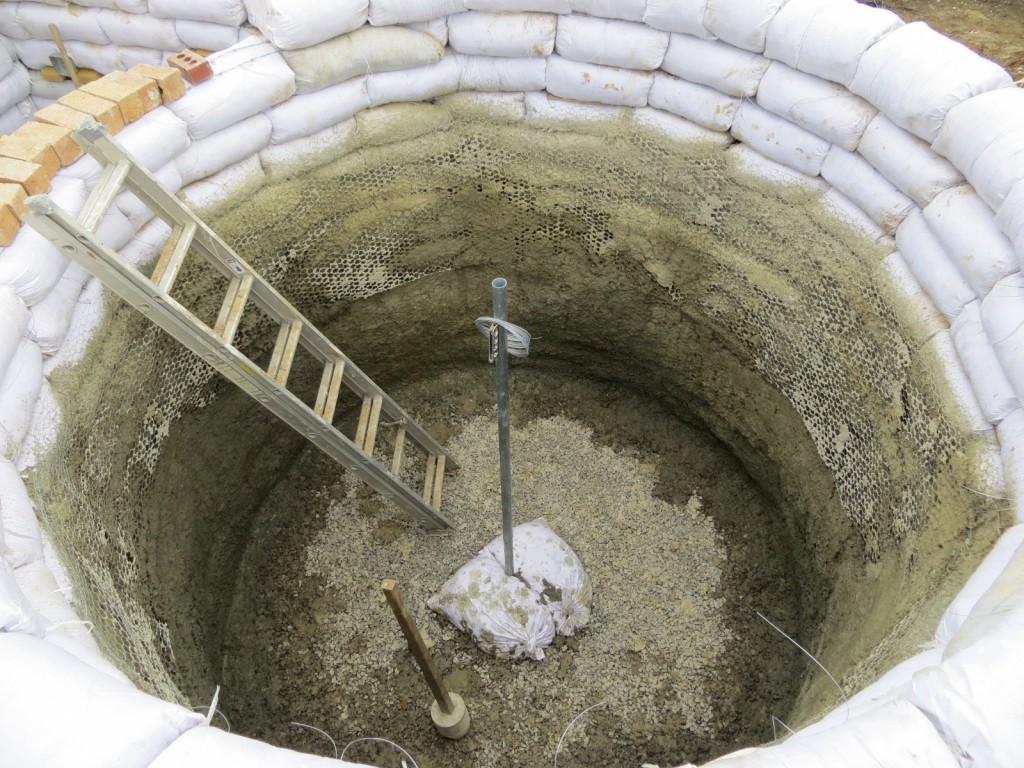
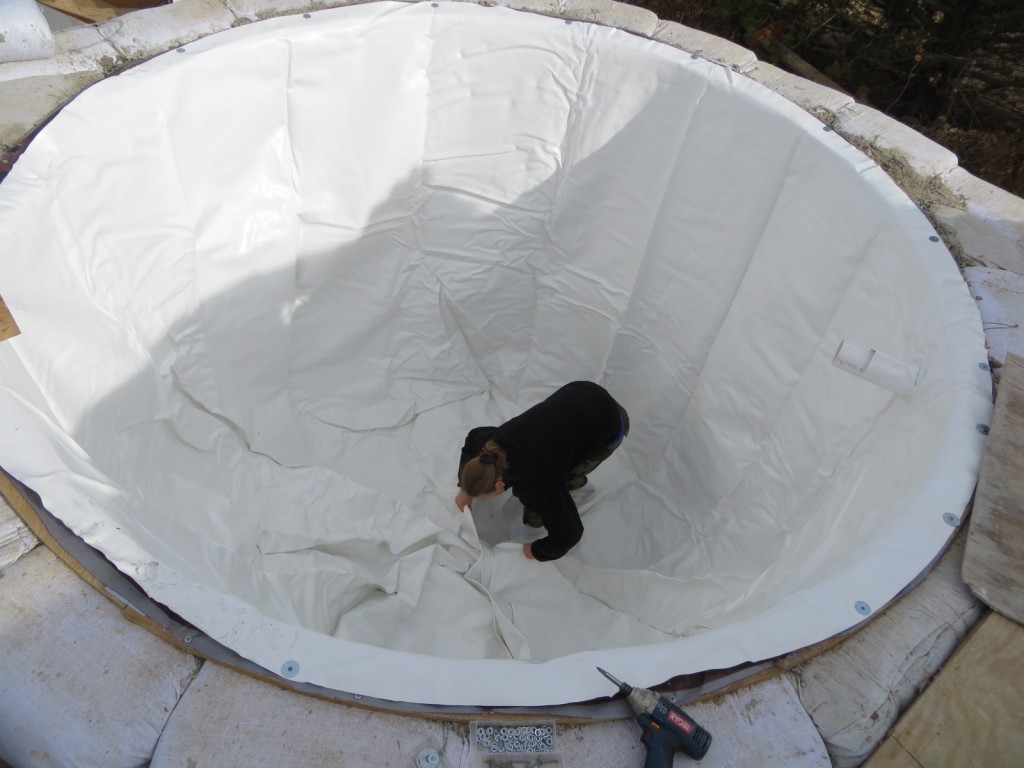
This cistern, made of earthbags like the rest of the house, will be the primary source of water for the house. We’ll collect rainwater from the roofs of the house and the RV shelter (both of which will be metal). The water will be used for washing, bathing, and–after running through multiple stages of filtration–drinking.
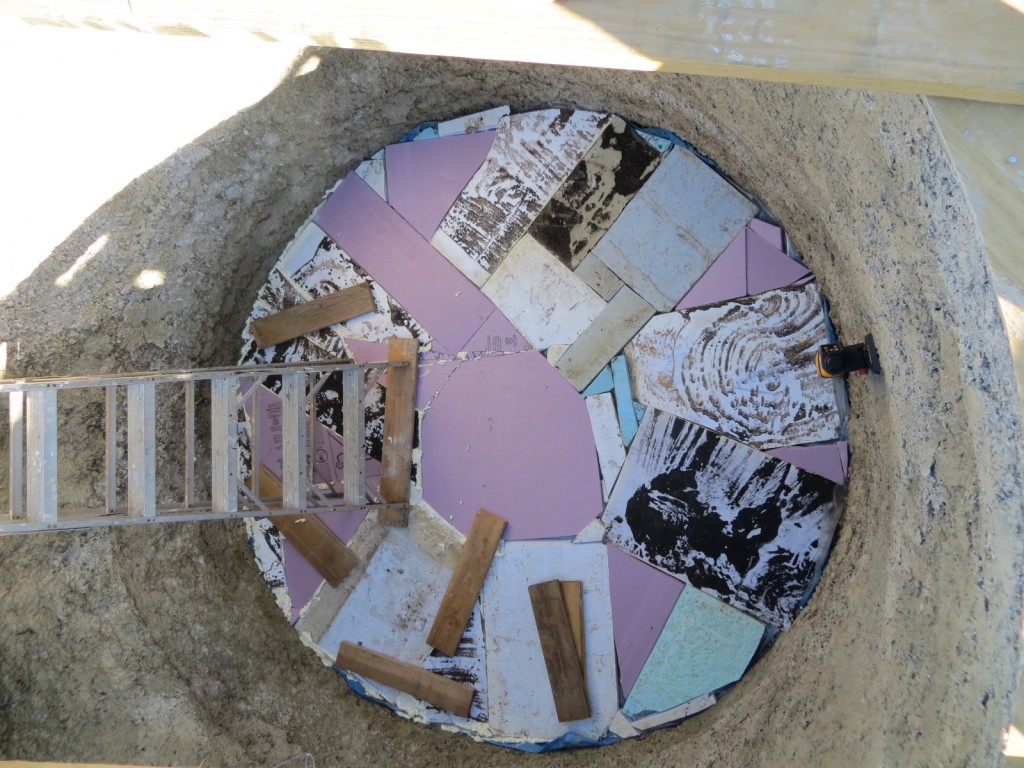
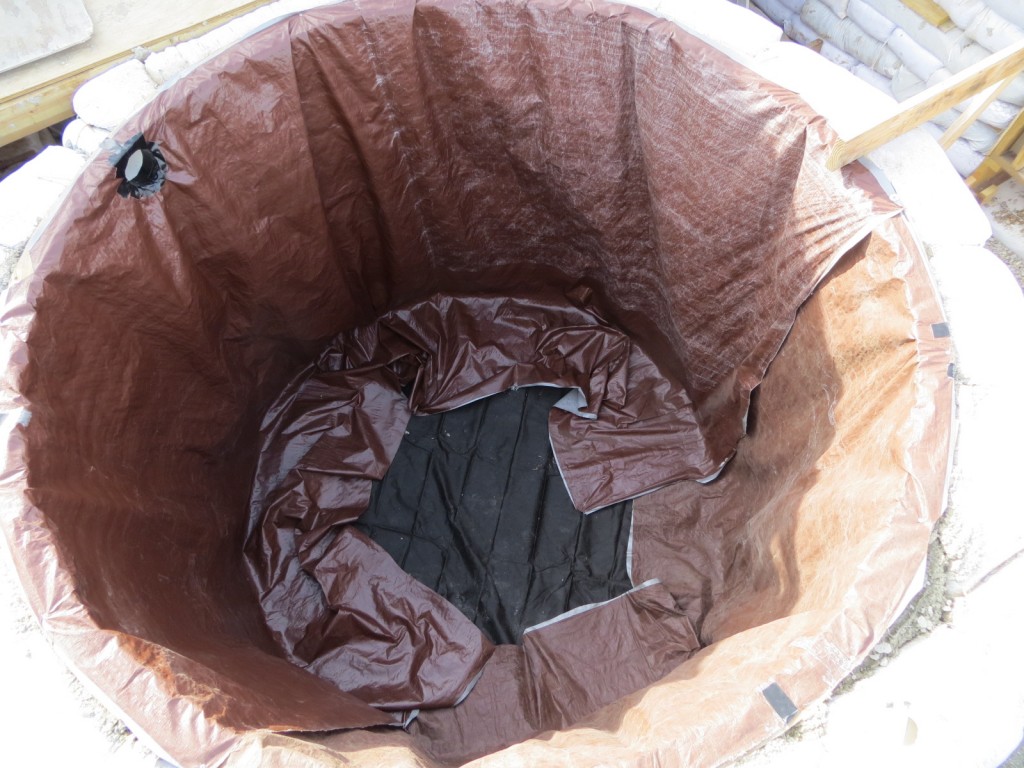
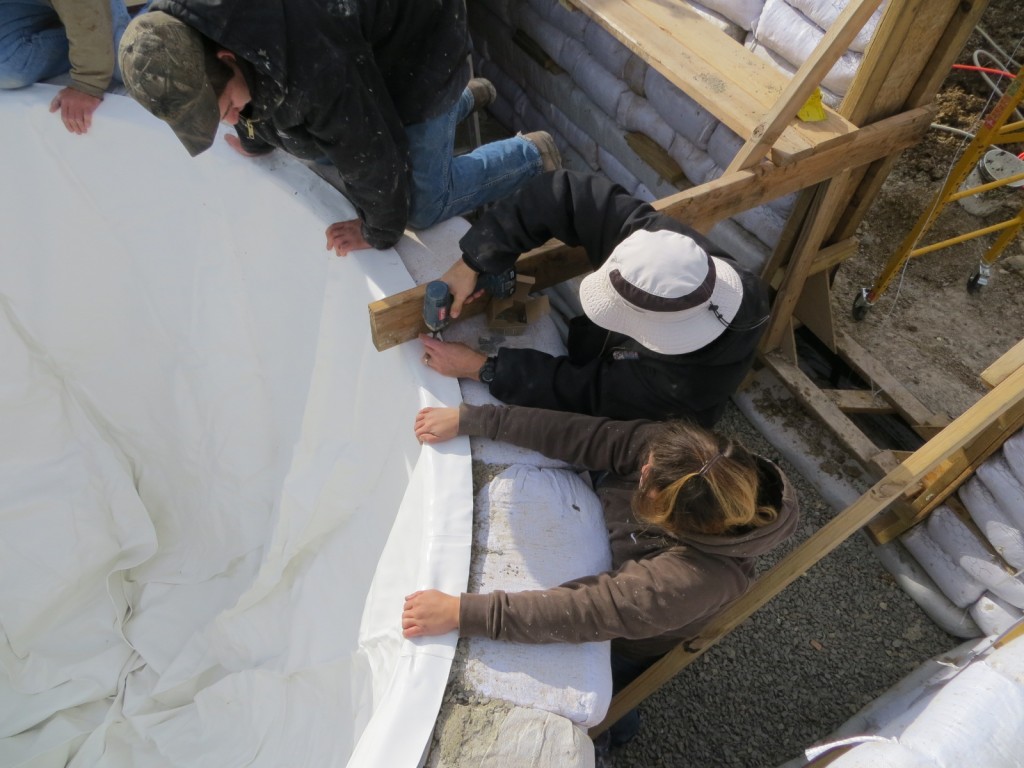
As you’ll see in the video below, the cistern has various layers on the inside. We covered the earthbags with papercrete to fill in the grooves and make a smooth surface for the liner to rest against (more about papercrete coming in another post). Because of the immense weight of the water inside the cistern, we mixed a greater proportion of Portland cement, plus sand, into the papercrete mixture to make it stronger (regular papercrete contains half paper and half Portland cement by weight, and no sand). To further increase the strength of the papercrete and give it something to stick to, we tied chicken wire to the sides and added more papercrete.
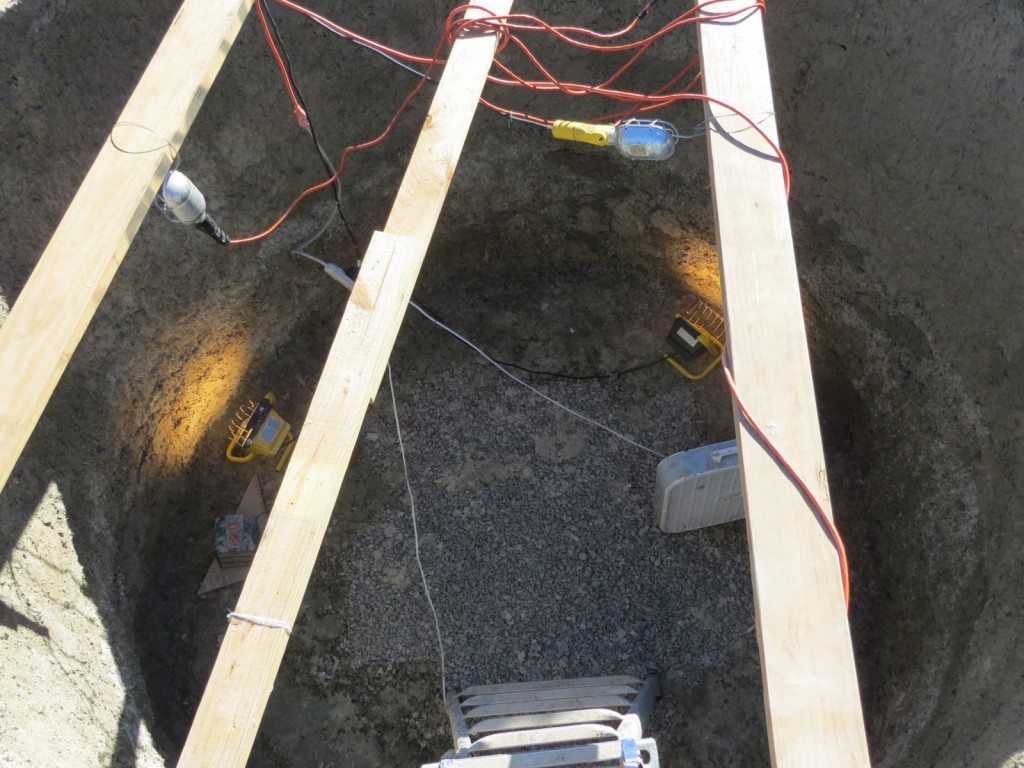
It took several days for the papercrete to dry, and we used fans, heaters and lights in the cistern to help speed up the process since the weather outside was turning cold.
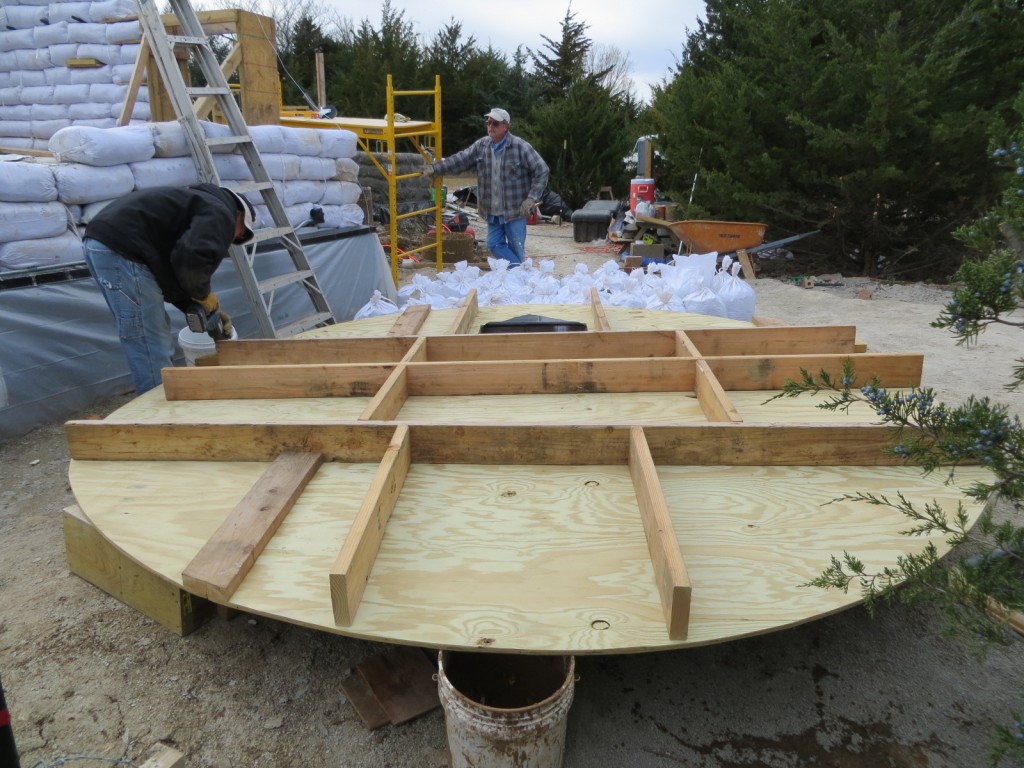
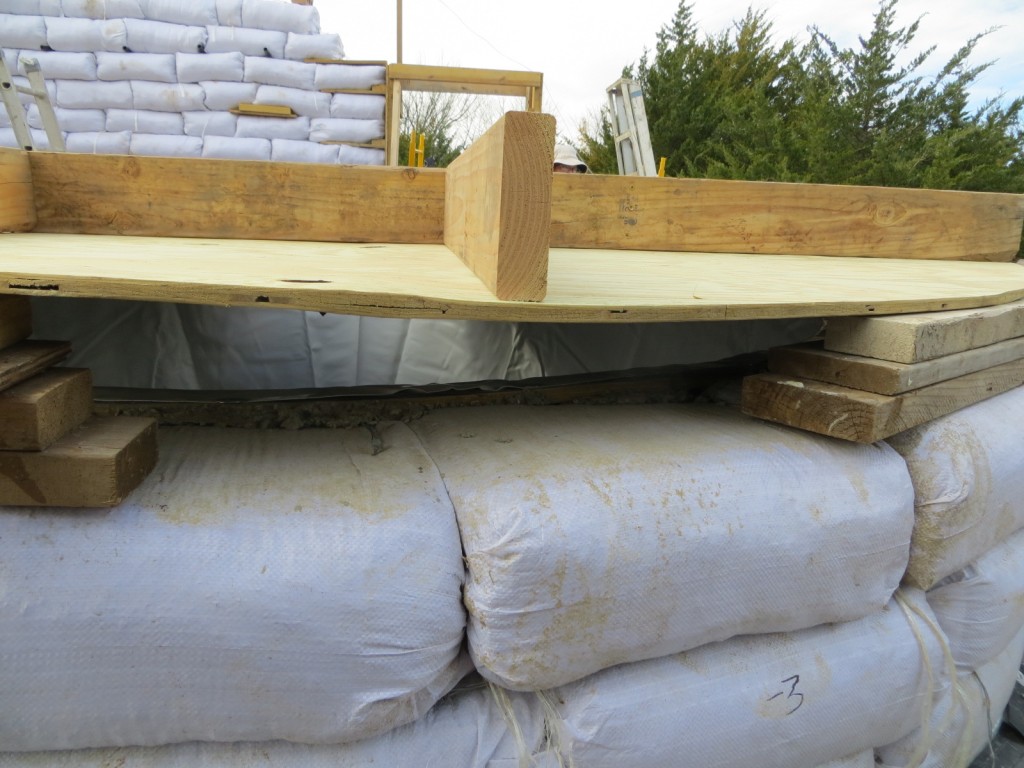
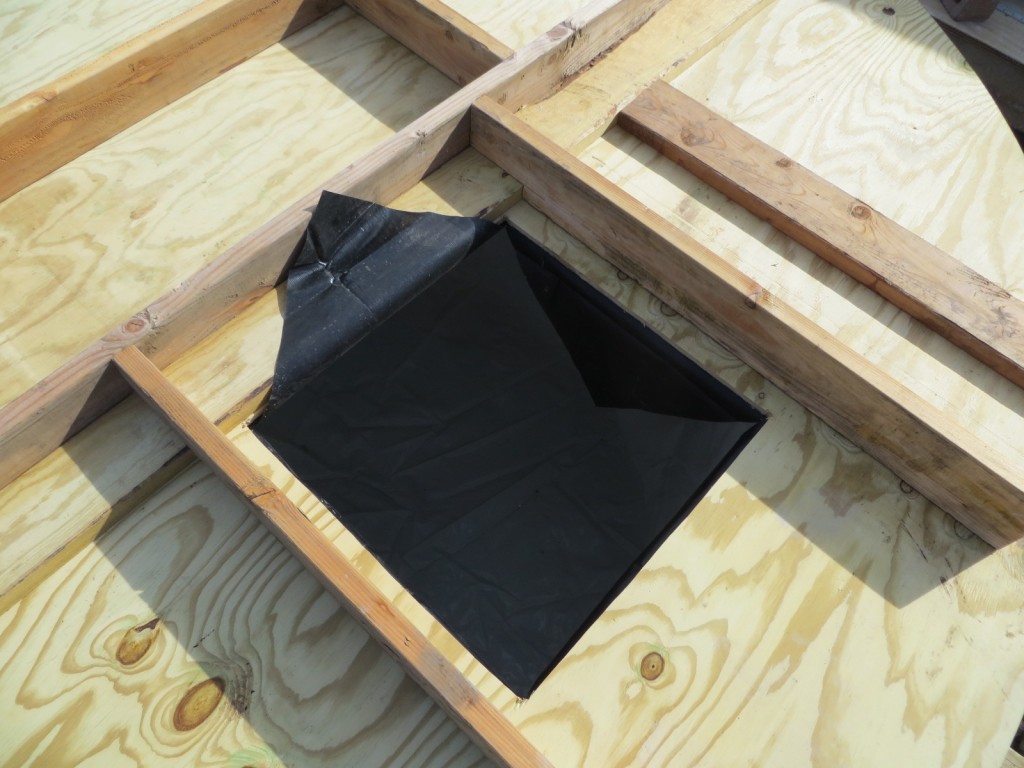
Lastly, all of us worked together to carry over the enormous wooden lid that Lee had made for the cistern.
Meanwhile, I will upload a few more posts about what we have done on the earthbag house this year. Enjoy this video showing the cistern from start to (almost) finish!
Enter your name and email to receive my newsletter and stay up to date!
We hate spam as much as you. Your email is safe with us.

