Earthbag Mixture
Earthbag Mixture

This being an earthbag house, one of the primary tasks involved in building it is making the mixture to put into the earthbags. We start out with the piles of clay that have been dug up around the building site.
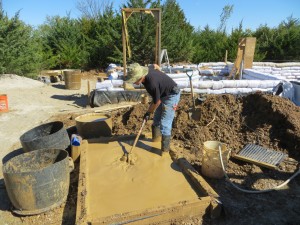
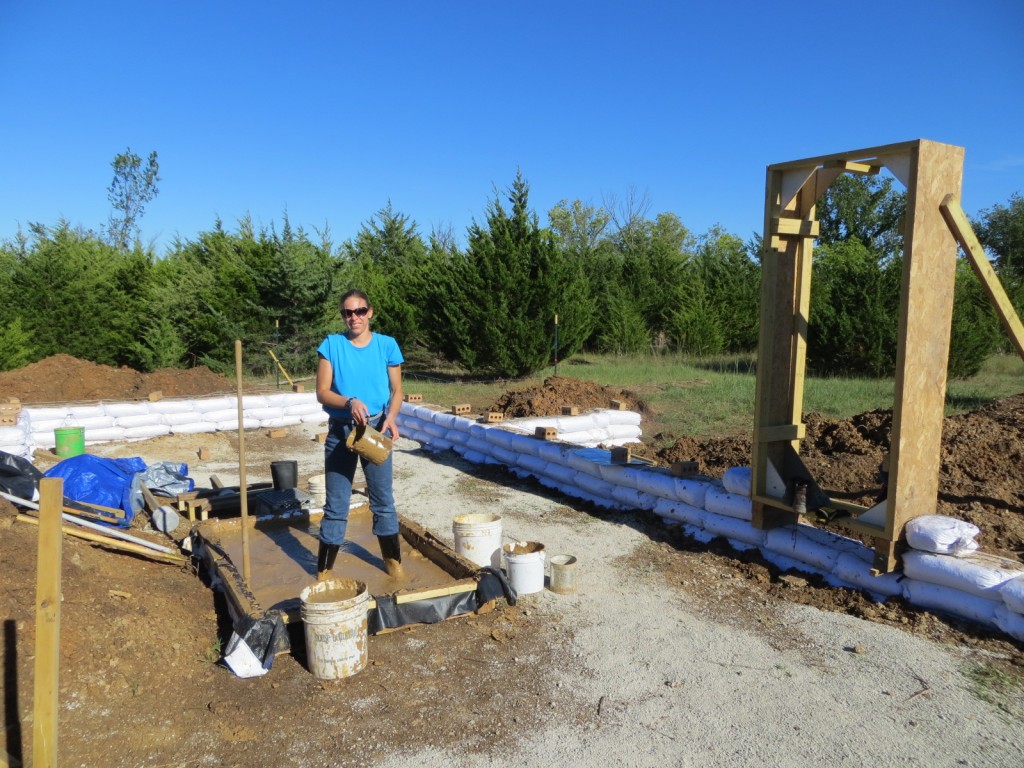
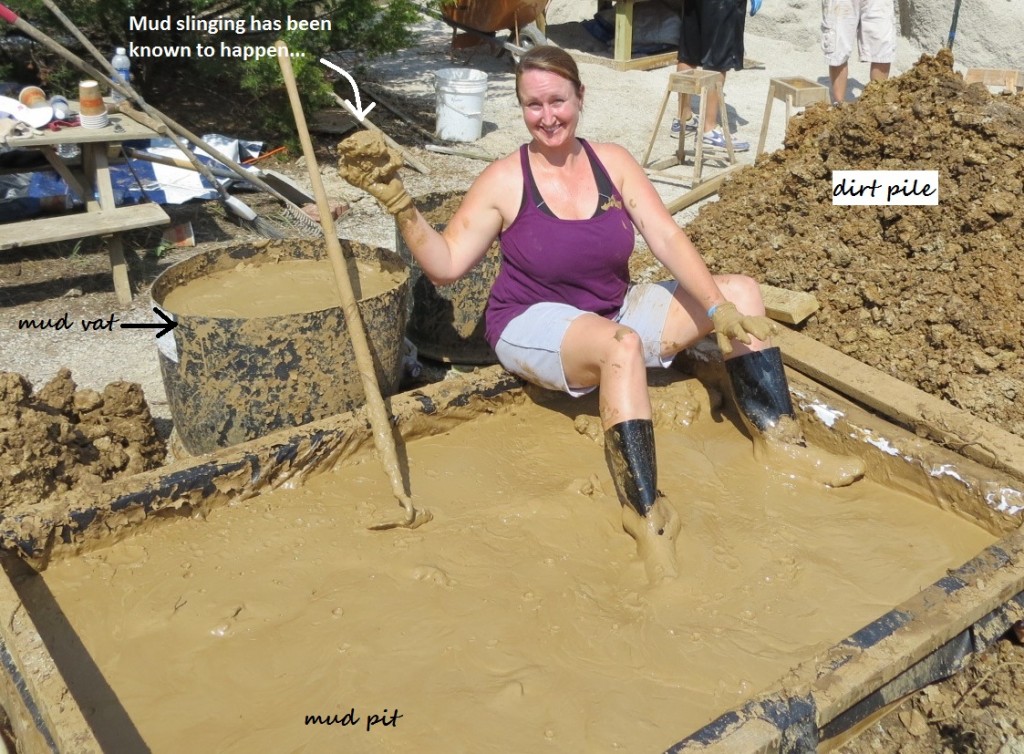
My father-in-law, Lee, made mud pits–like kiddie pools–with boards and plywood and tarps, and into these we shovel a generous amount of clayish dirt. Then we add water and let the mixture soak for awhile.
Every batch of dirt is a bit different; some is more rocky, some is more sticky, and sometimes it breaks down pretty nicely. The rocky stuff seems to take the longest, but it all requires lots of patience to work a batch, which takes anywhere from about 90 minutes to 3 hours or more.
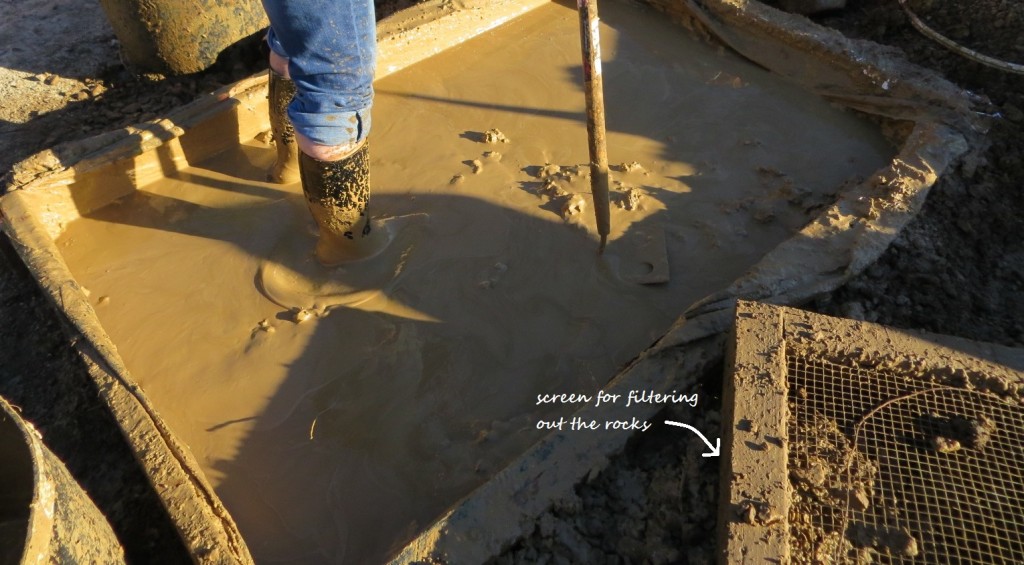
After the mixture has soaked awhile, one of us will slip into our rubber boots and step into the pit. Here was my experience with one of the “nicer” (few rocks, fast and easy to mix) batches of clay slip one late afternoon:
4:23 – I can see distinct piles of dirt sticking up from the murky water as I step into the pit. The clay along the bottom sucks at the soles of my rubber boots and makes deep slurping noises as I pry my feet from its grasp and stomp around, using a hoe for extra stability.
4:39 – The dirt piles have been leveled below the surface of the water, which has taken on the consistency of chocolate milk.
4:52 – I slide my feet back and forth along the bottom of the pit, pausing occasionally to stir the muck with my hoe. The muck now resembles the chocolate atole (thick hot drink like porridge) I used to drink as a kid in Mexico–thick, but still liquid enough to drink. There are little clumps of dirt throughout the mixture, like bits of brownie in a fudge milkshake.
5:13 – The mixture now feels like chocolate pudding. It is getting too thick to pour. I add more water and slide around the murky pit for awhile longer to stir it up. As I work, the muck splashes and dots my clothes and face with brown speckles.
5:32 – I sit down on the edge of the pit and plunge my bare hands into the slippery muck, feeling for large rocks and roots. These I pull out of the mixture and toss aside.
5:47 – Standing up, I wash my hands in the bucket next to the mud pit and pour the rest of the water in, spending a few more minutes stirring it in with my boots and my hoe.
5:58 – It’s time to get some supper. The mud is well-mixed and ready for pouring into the mixer with screenings tomorrow, and soon it will become part of the wall of the house.
When there are lots of rocks in the mixture, we pour the slip through a screen, then toss the collected rocks (gravel) into bare dirt patches on our trails or driveway. The whole process takes much longer when we have a rocky batch of slip.

To make the mixture itself, we combine screenings (leftovers from crushing rock–which we obtained for cheap from a nearby rock quarry) with the clay slip. The slip acts as a binder, holding the screenings together and forming almost a “brick” of earth inside the bags once it has set up. You can make the mixture in a wheelbarrow or on the ground, but we are using a cement mixer which greatly speeds up the process. Here’s a video of Keith explaining the whole thing:
Then the completed mixture is carted off, poured into the bags and added to our ever-growing walls!
Questions? Comments? Comment below!
Are you enjoying these blog updates? Click below to subscribe and I will let you know when I update the blog so you never miss a post!
Enter your name and email to receive my newsletter and stay up to date!
We hate spam as much as you. Your email is safe with us.


