Foundations
Foundation, French Drain, and the First Bags!
We’re making steady progress on the earthbag house! Here’s what we’ve been up to:
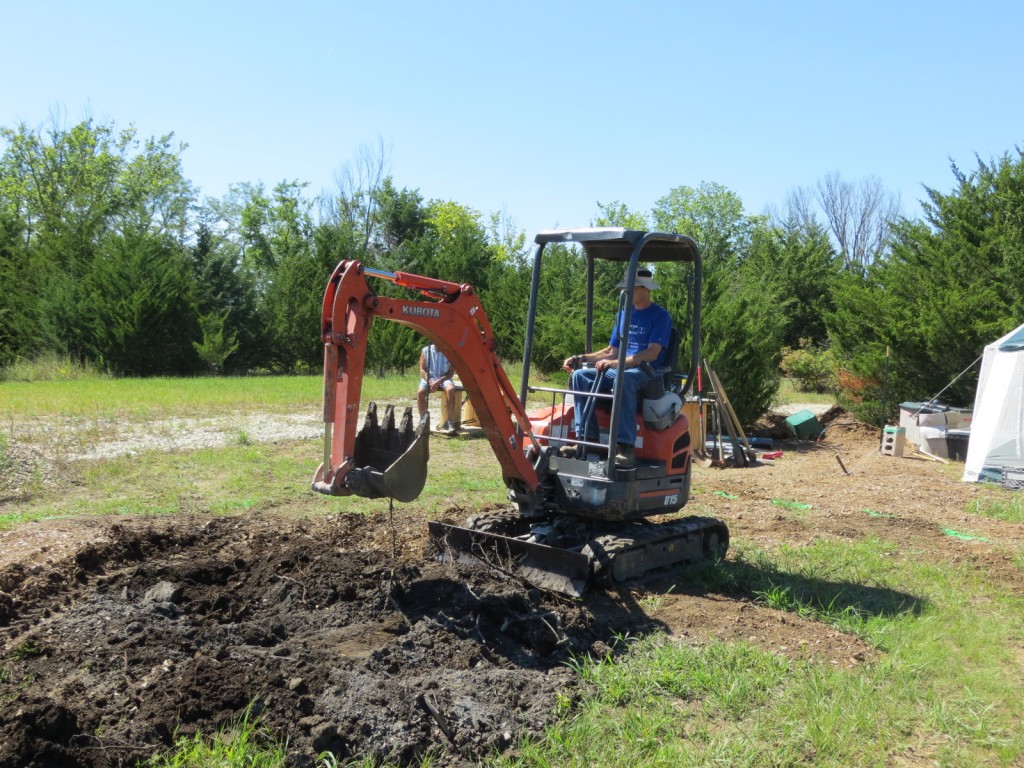
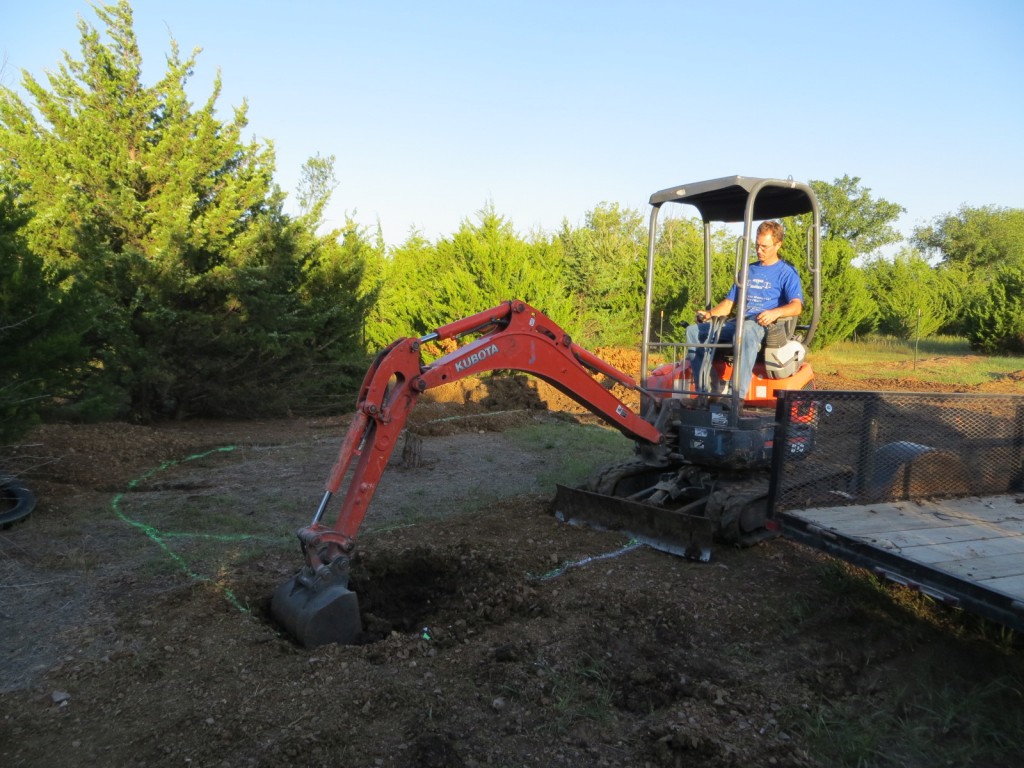
On the afternoon of August 13th, after we had finished filling the last of the trenches, Keith rented a mini excavator to dig the foundation and the cistern/utility room, which will be set lower into the ground than the rest of the house.
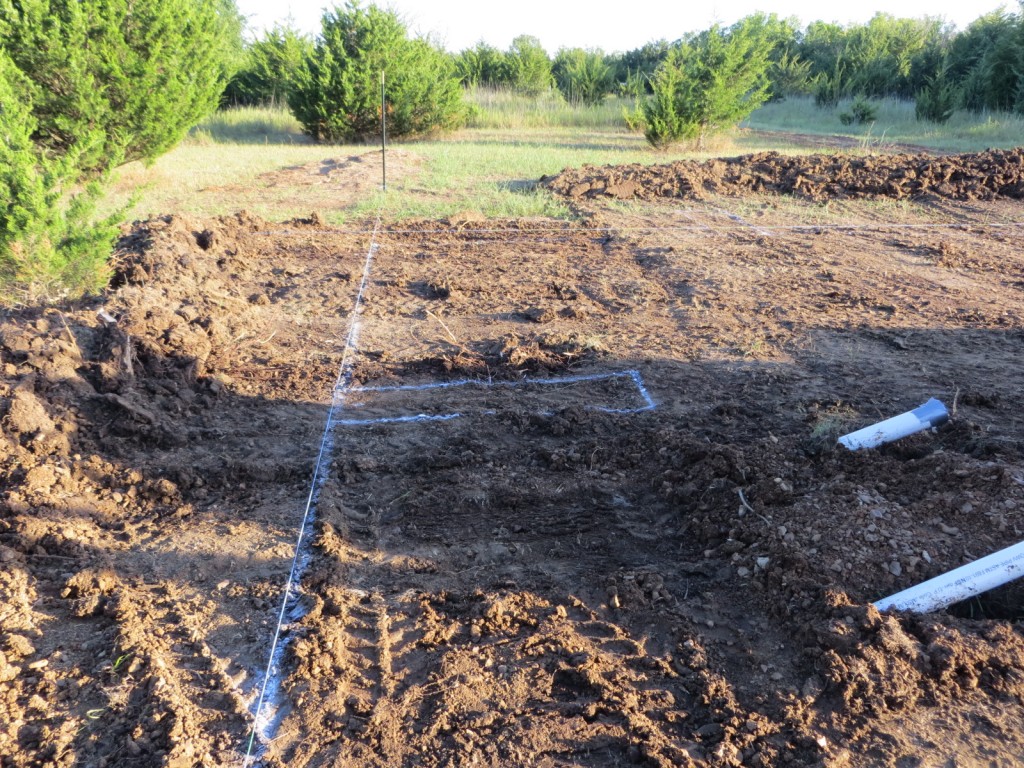
The first task was to scrape out the footprint of the house, leveling the uneven mounds of dirt and debris and pushing away the grass and shrubs.
Using string strung between posts that we had carefully positioned earlier, Keith re-marked the walls once he had finished clearing the area.
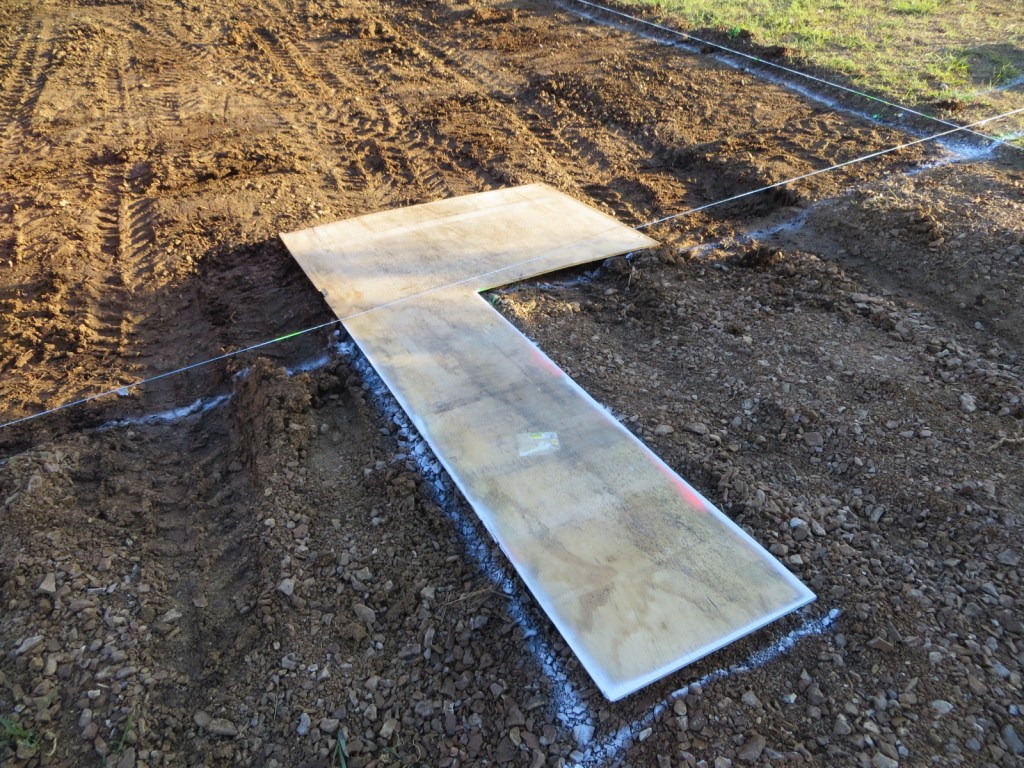
Next, Keith began digging out the utility room, which will contain the 3,000 gallon rainwater cistern, electrical panels, etc. This room will become the “brains” of the house from which all the plumbing, sewer, and electricity is controlled.
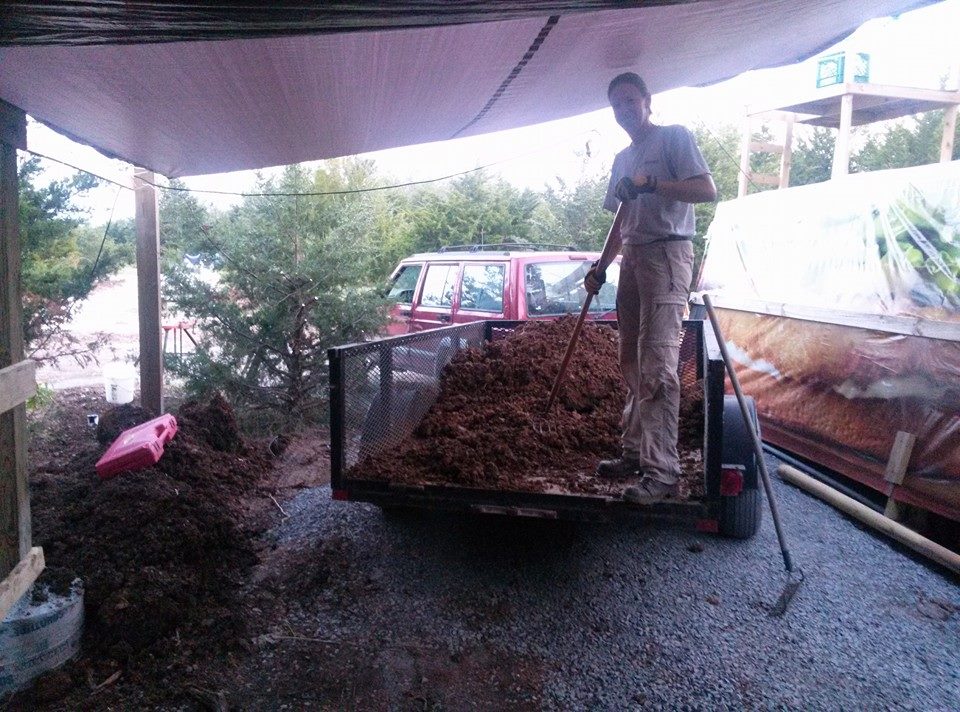
As Keith extracted dirt from the ground, he loaded it onto a trailer which Leroy and I took back to the unfinished RV shelter and used to help level the ground there.

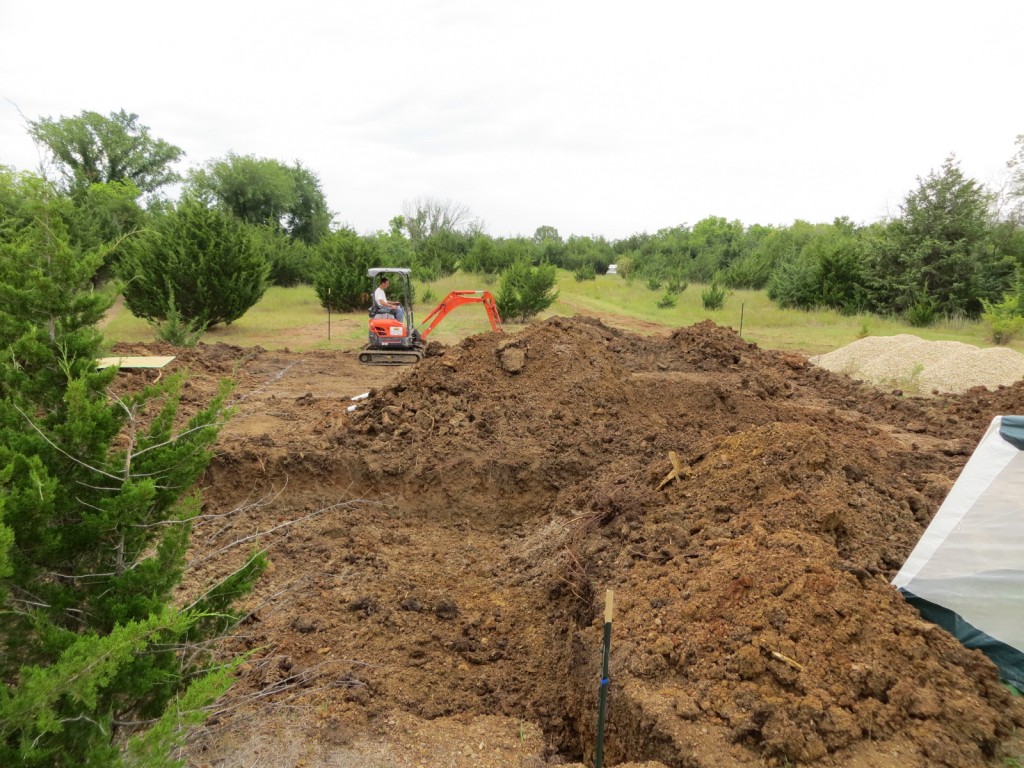
Of course, Keith dug up far more dirt than what we needed, so piles began to accumulate around the house site. Some of the dirt in our ground is more clay-like, and some of it is more gravelly, so Keith sorted out the different types of dirt into different piles, so that when we fill the earthbags it will be easier to use. Once the utility/cistern room pit had been dug, Keith made his way around the perimeter of the house, digging a trench 18 inches deep. This would become the French drain and rubble trench foundation.
Here’s a short video of Keith’s adventures with the mini excavator:
Keith returned the excavator after two days, and then we spent the next few days doing some touch-up work by hand–leveling the trenches, shoveling out some excess dirt, and making sure the ground sloped just right for the French drain.
The next step was to line the trenches with weed fabric to help keep the dirt away from the perforated pipe which would be going in next. Then we began laying the pipe into the trenches.
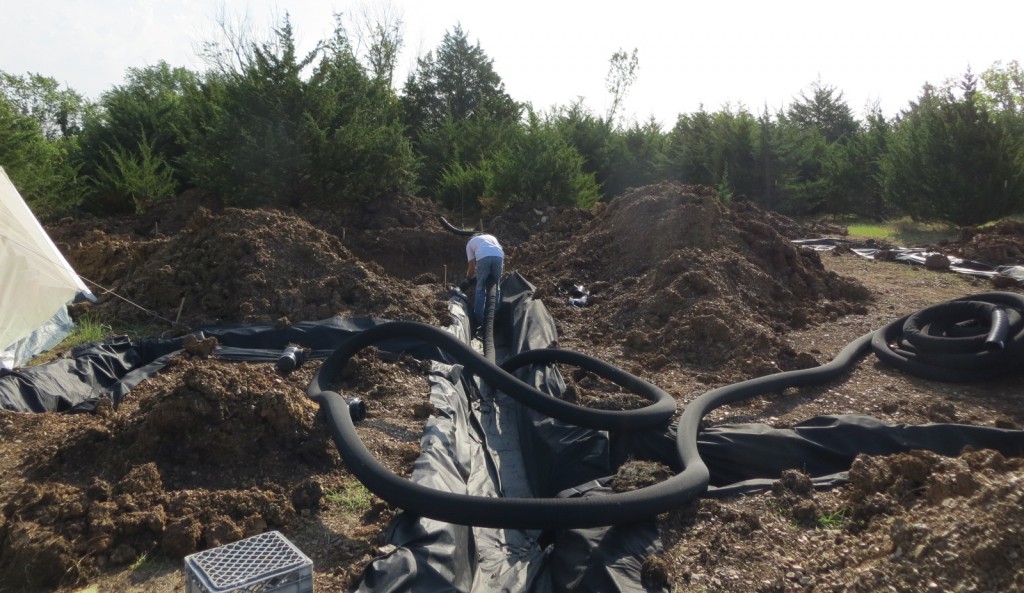
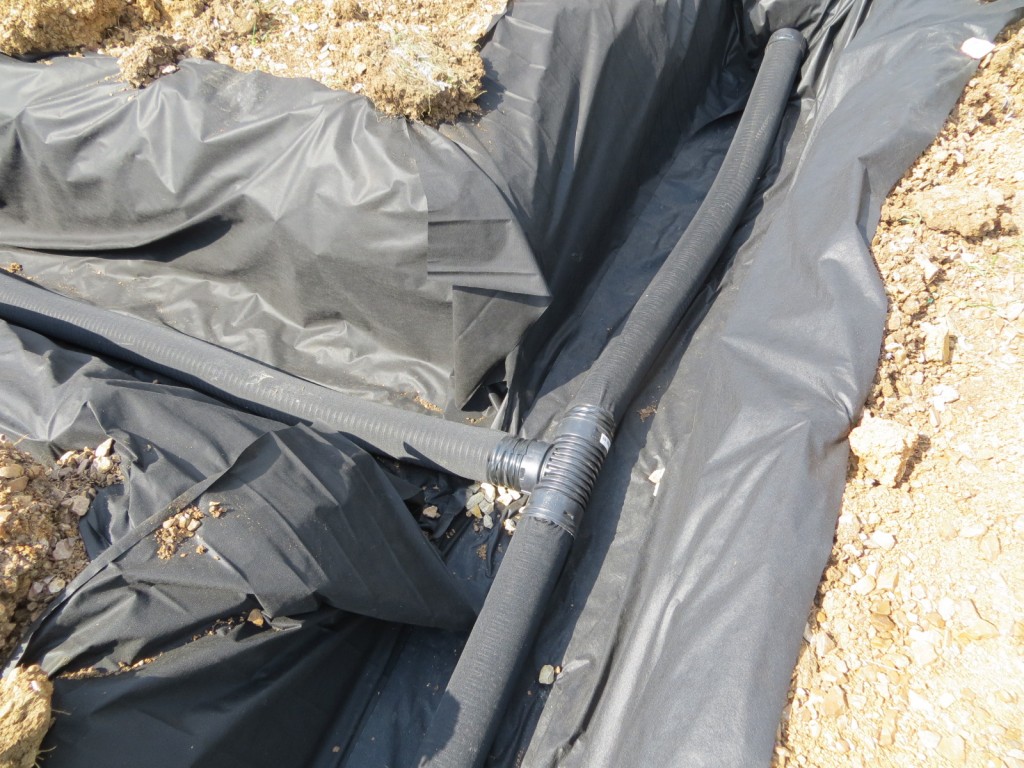
We weighed down the junctions with piles of gravel to hold the pipes in place.
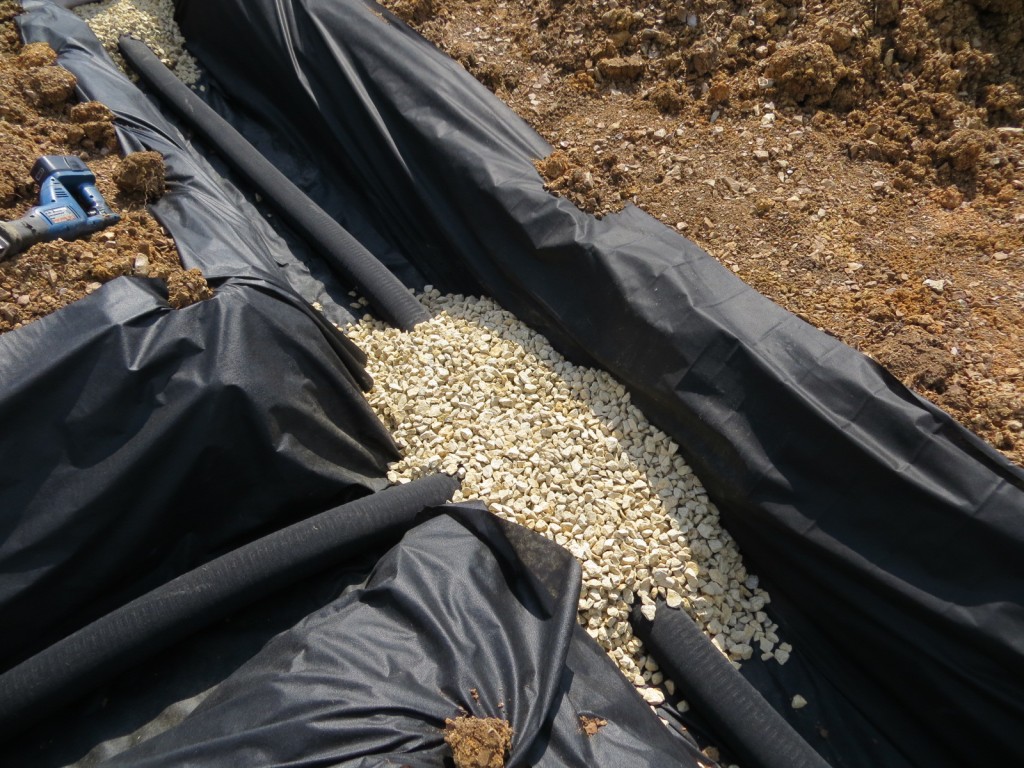
Then we began filling in the space around the pipe with gravel, until it just covered the top of the pipe. This step involved lots of shoveling, wheelbarrowing, and hauling gravel-filled buckets.
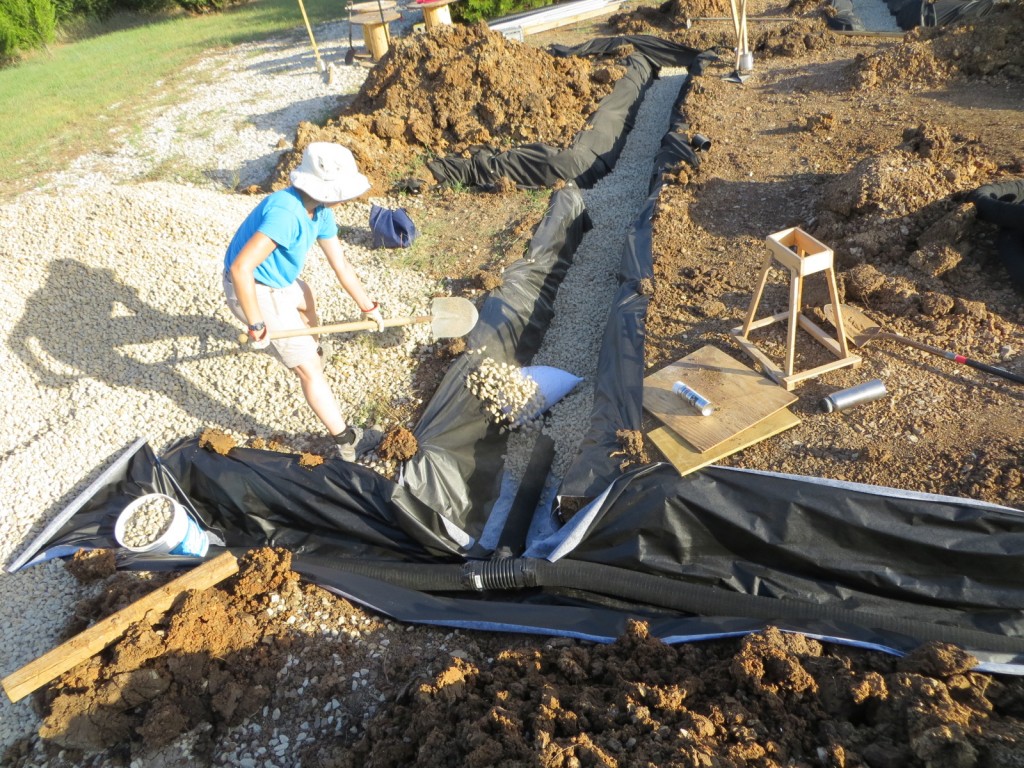
To prevent the gravel from settling, we had to pack it down as tight as we could. After adding a few inches of gravel we came around and tamped it down. We did this in three passes each time. The first step was to pound the gravel with these small tampers to get it to shift around into place. (Leroy made these with concrete-filled yogurt containers.)
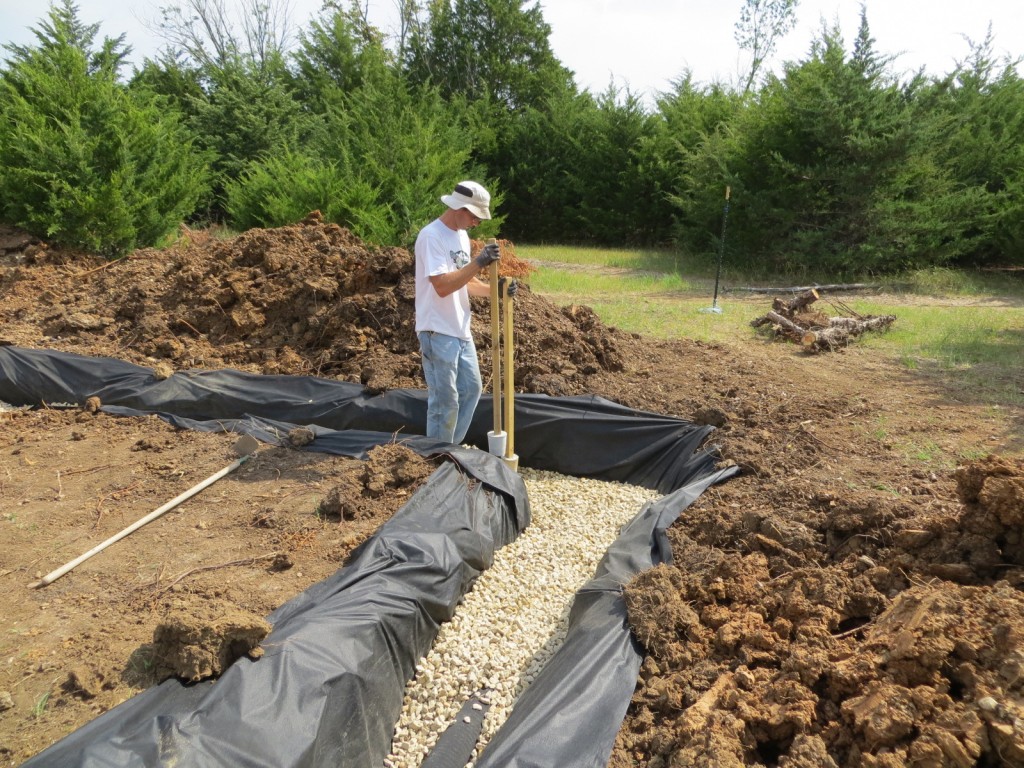
Next, we would come around with some larger tampers, made with gallon-sized tin cans, and pack the gravel down tighter. Finally, we would tamp the gravel with a 10″X10″ square tamper which would help to level and flatten the gravel as much as possible. By the time the third pass was done, the gravel was pretty well packed down and would hardly shift at all when you walked on it.
Here’s a short video:
At last, after much gravel hauling, shoveling, and tamping until my arms ached, we had brought the gravel up to a level where we could begin laying the first bags. Not earthbags just yet, but bags! This is a momentous occasion, you guys!
Until we reach the level where the floor will be, the bags will be filled with gravel. Because this material is harder on the fabric, we are double bagging at this stage.
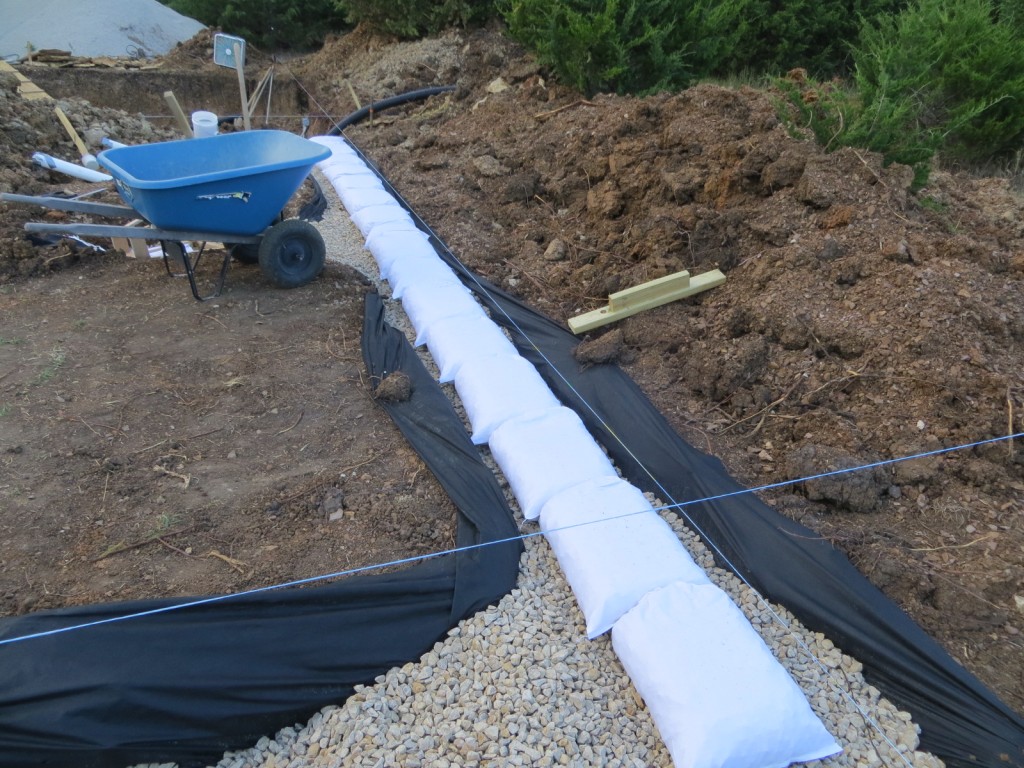
First we made sure that the gravel layer below the bags was perfectly level. We put up a string between the two posts, leveled it, and then measured to ensure that the gravel was the same distance below the string all the way across. We put a 4-foot level on the gravel, too, just to double-check. Then the bagging began. Here’s the first layer of the east wall:
In a minor setback, we got quite a lot of rain over Labor Day weekend! The water filled up our utility/cistern room and Keith spent a couple of days just getting it drained out so we could keep working.
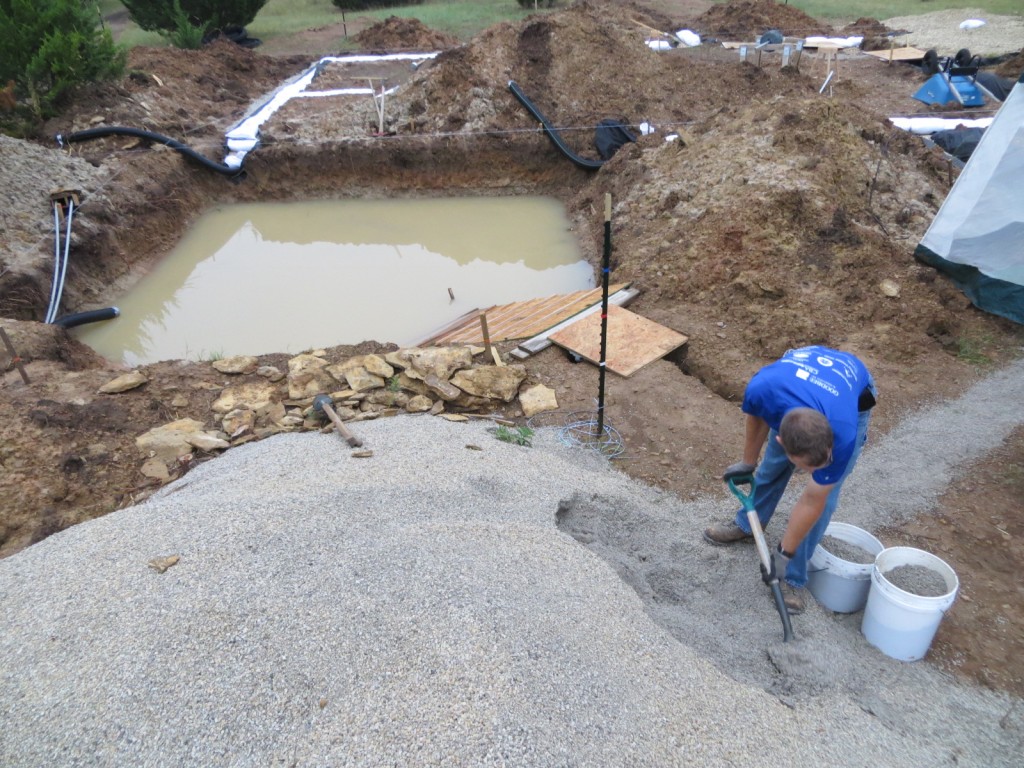
The good news, though, is that our French drain seems to be working perfectly! (And soon we should have the utility room done so it will drain automatically, too.)
So the past couple of weeks have been a busy time with gravel bags, and the house is beginning to take shape! I’ll write more about that process in my next post. If you’re not already getting updates and would like to be notified by e-mail when I publish my blog posts, just enter your email below and sign up!
Do you have any experience with earthbag building? Do you have any questions about it? Questions and suggestions and general comments are always welcome. Share your thoughts in the comments below!
Enter your name and email to receive my newsletter and stay up to date!
We hate spam as much as you. Your email is safe with us.

