Natural Building Extravaganza!

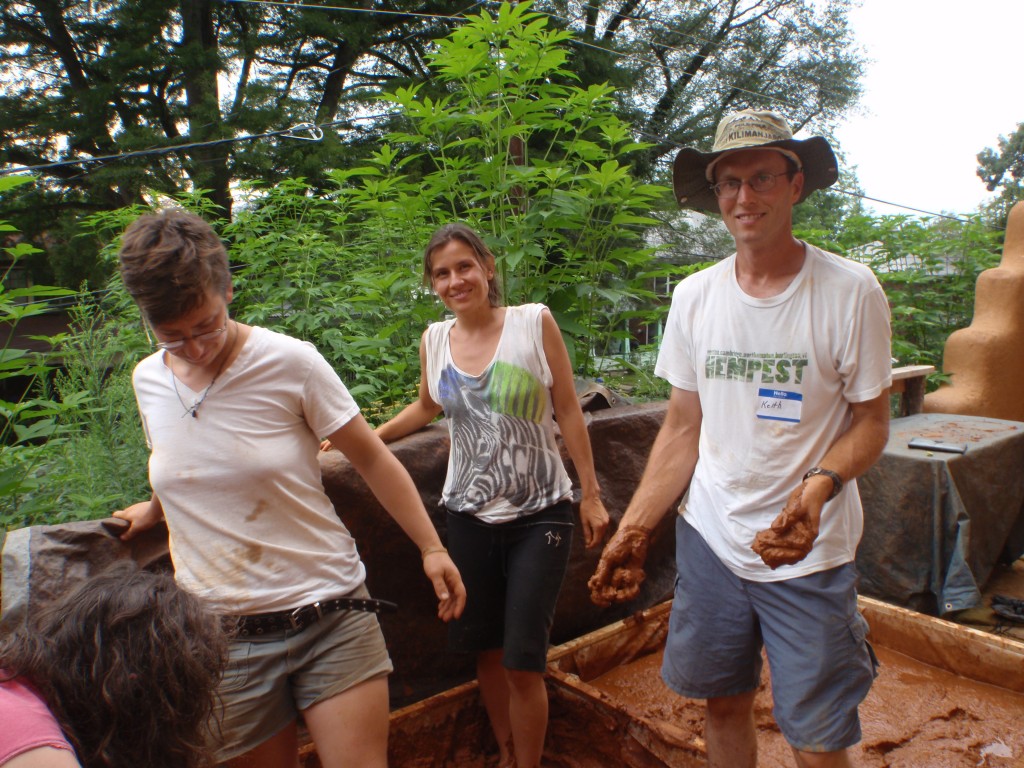
By now, you’re likely familiar with the earthbag house I’m building for my parents. By mid-July, I had finished the underground utilities and I was about to dig the trenches and pit for the rubble trench foundation and the recessed utility room with the 3000 gallon rainwater cistern. I had studied earthbag structures extensively, but had zero experience building them or any other natural building structure. So I decided I should gain some experience before my first project since it is a big project after all and I don’t want to make any mistakes. So… I Googled “earthbag workshop.” After following a couple of links, I came across the Natural Building Extravaganza which was a full week of workshops and lectures about natural building. Three days later Lily and I hit the road and drove for 16 hours out to North Carolina.
During that week I learned lots and lots of information about natural building and I had fun playing in the mud every day. I’ll be summarizing what I learned in the workshop that has the most to do with my current earthbag project.
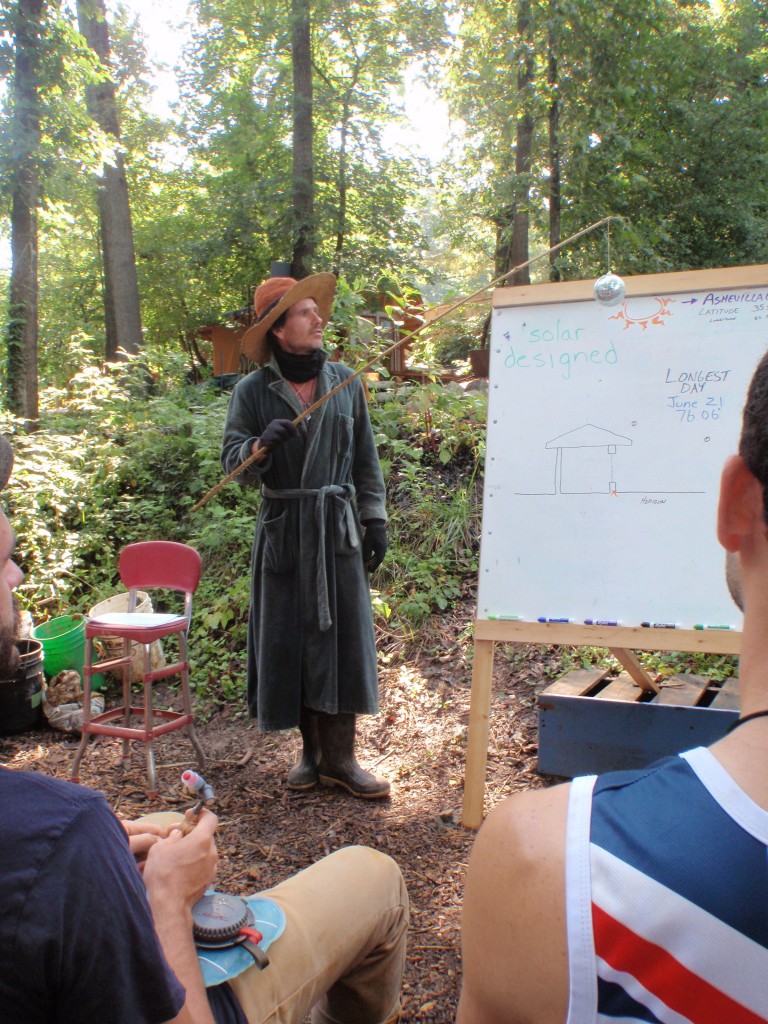
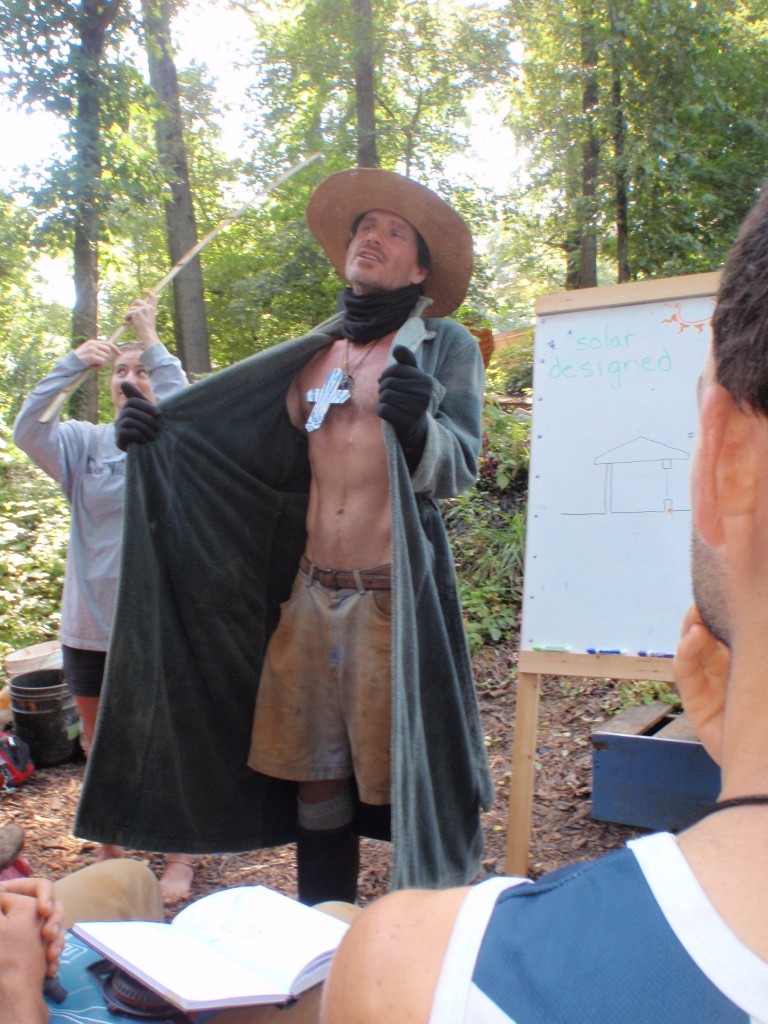
House Orientation – Passive Design – Work with Nature:
To minimize the amount of energy needed to heat and cool a home, it should be built (in the northern hemisphere) oriented to the South. In the middle of the summer, shade on the south side prevents overheating. Roof overhangs should hang out and above at such a distance that on the summer solstice (June 21st when the sun is the highest in the sky) no sunlight shines on the walls (or at least the windows) during the middle of the day. In the winter the sun will naturally be at a lower angle and shine more directly on the walls and into the windows. Insulated curtains should be used on the windows in the summer. However, if they are used on the inside, heat will build up between the windows and the curtains and escape above and into the house. Consider hanging weather resistant curtains on the outside of the windows or use shutters. Also, deciduous trees work great to provide shade during the summer and sunshine during the winter after they have lost their leaves. Some people like to plant leafy vines to grow up and cover their windows during the summers, but keep in mind that this could cause water issues as they trap moisture next to the building in places.
Adding thermal mass (at least 12” thick) to the south facing wall helps stabilize temperature swings during the day/night. My earthbag walls will be 16” thick with 2”-3” of insulating papercreet plastered inside and out. Extra insulation on the north facing wall will help prevent inside temperatures from exiting the house.
One other consideration, on the south side of the earthbag house I have designed the support piers to be placed in such a way that walls can be extended out to create a sun room/greenhouse addition in the future. This can also be used to help regulate the temperatures that enter the home.
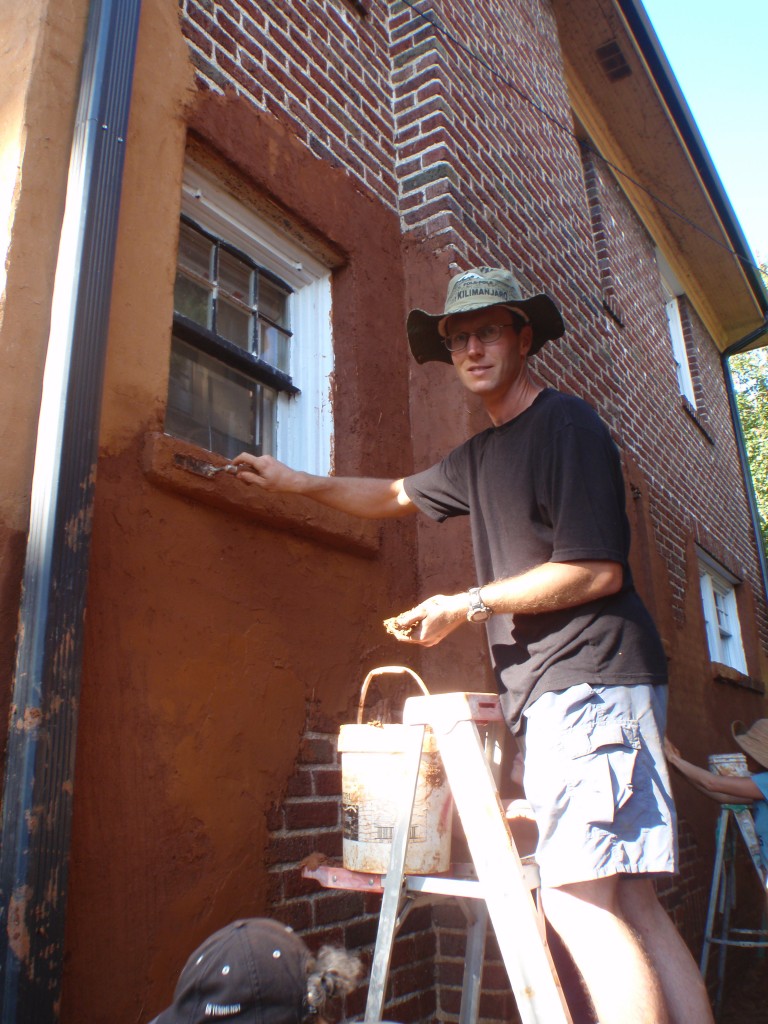
Lime Plaster:
Lime plaster is great for a final layer on the outside of a house in climates where moisture can be an issue. In Kansas, we get approximately 45” of rain per year. It’s not a huge amount, but if it rains off and on for several days, mold can become a problem with other earthen plasters. Some characteristics of lime plaster:
- resists mold
- cracks can be self-healing over time
- carbon neutral in that the carbon released when creating it is reabsorbed as it slowly turns back into limestone
- pigments can be added to change the color as you desire
- lasts a long time (has lasted over 2000 years on some Roman structures)
Some things to keep in mind when working with lime plaster:
- when mixing it, don’t breath the dust (use a mask/respirator and/or work upwind)
- don’t let it get on your skin (wear rubber gloves)
- dry it slowly to prevent cracking when initially applied; keep it moist for 7-10 days
- don’t use it when there is a chance of it freezing before fully cured
Earthbags:
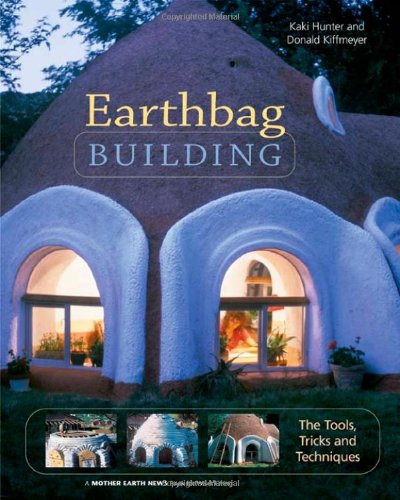
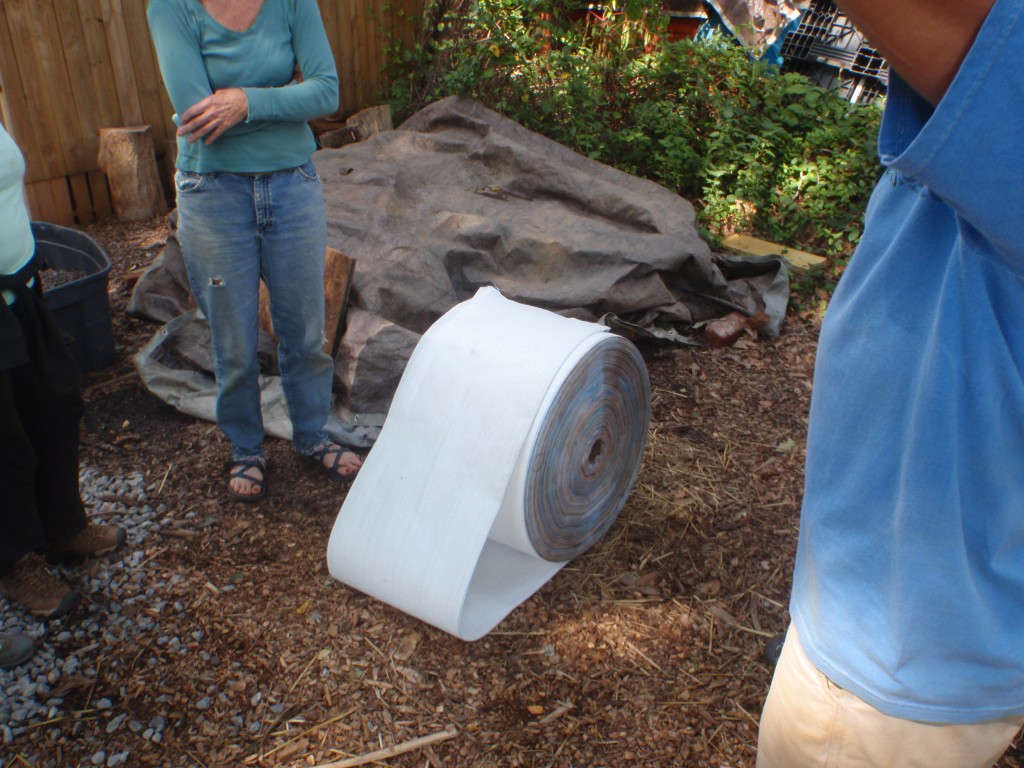
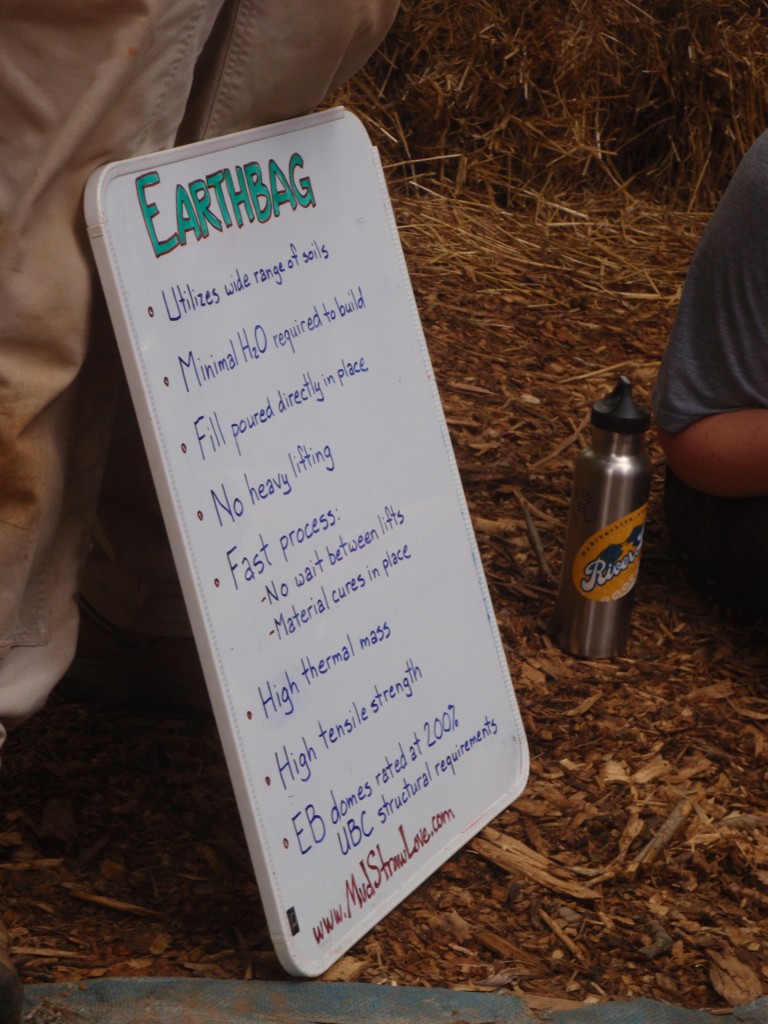
During his workshop on earthbag construction we built a retaining wall/bench. Most of the information I was familiar with and it was great gaining some experience filling tube bags and tamping them into place.
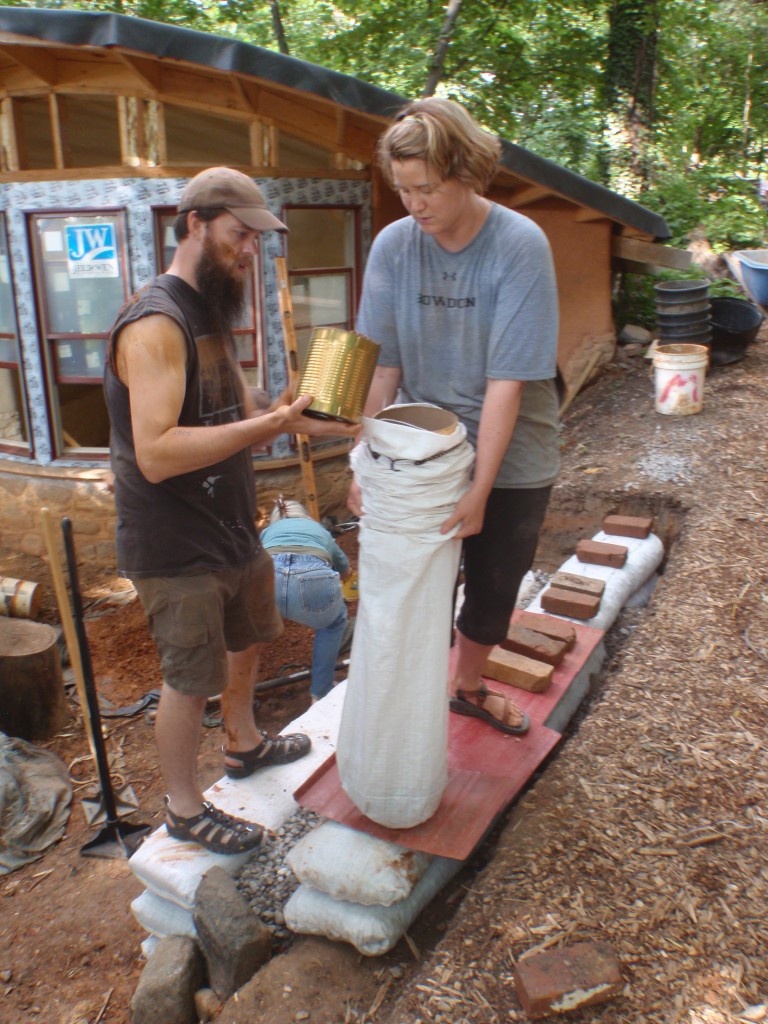
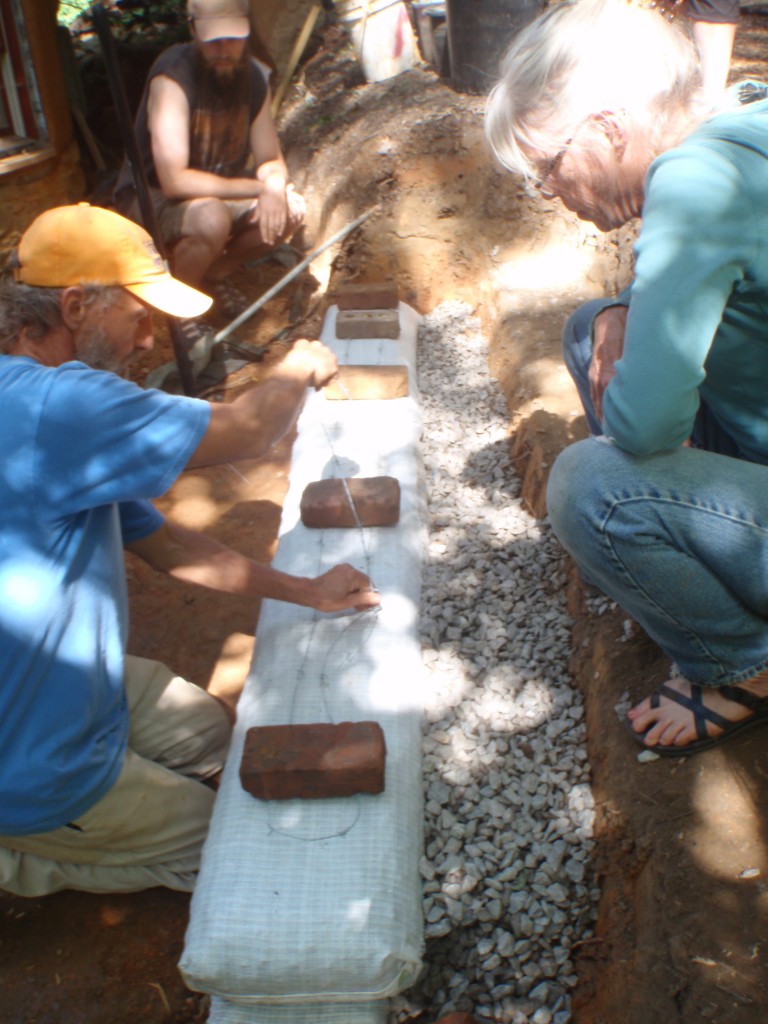
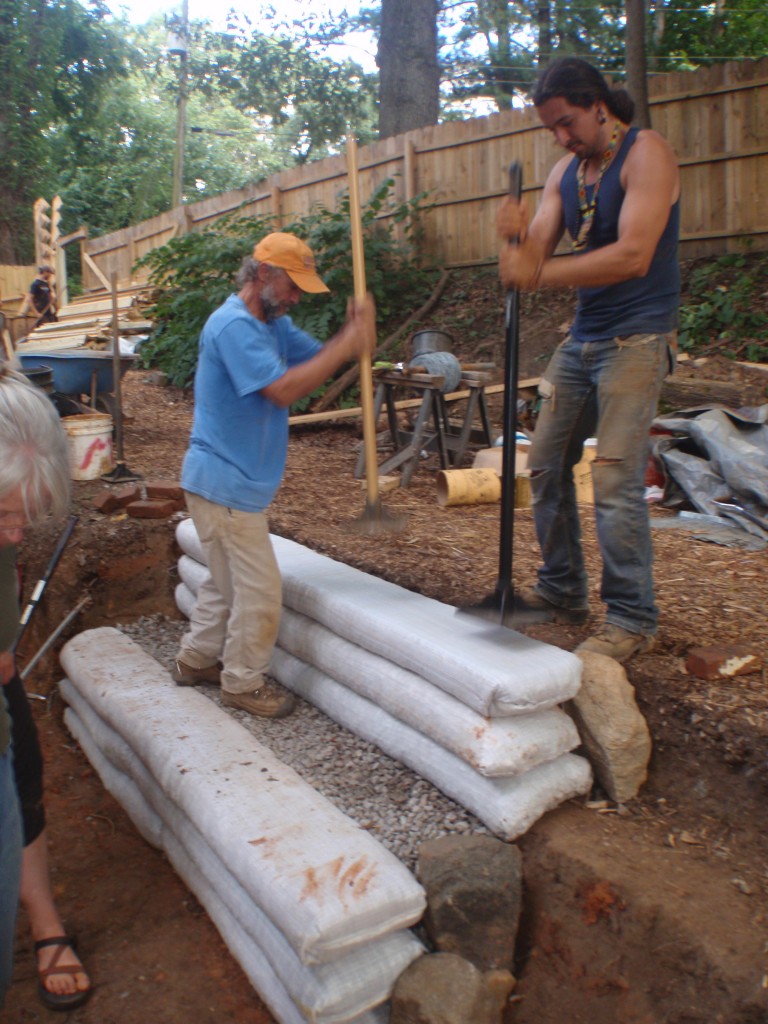
The one piece of advice that I have taken away from the workshop was to use tube bags (rolls of woven polypropylene cut at custom lengths with the end stitched shut) for my cistern construction. This will speed up the construction process and increase the strength without the gaps between the bags.
Earthen Floors:
First let me explain the layers I will be using for my earthbag house. Once the ground is level, 3”-5” of gravel will be placed on top for a cathodic break (prevents moister from the ground from dampening the earthen floor). Next I will place two layers of heavy duty plastic. Now for the insulation I’m considering 3”-5” of volcanic rock (not easy to find in large quantities in Kansas), or 2” of foam insulation. Next will be wire mesh for tying down the PEX tubing for radiant in-floor heating. This will be buried in 1” of sand. Next is 3” of cob or soil-cement. The final layer in the kitchen, bathrooms, and laundry room will be tile. The final layer in the rest of the house will be 1/2” of fine clay/sand with boiled linseed oil used on top to seal it.
This class may have saved me a costly mistake. I have watched various YouTube videos about installing radiant in-floor heating directly into the soil-cement or cob floor using PEX tubing. In the class I learned that the heating and cooling of the tubing will cause the clay in the floor to expand and contract, causing cracks. It’s best to install the tubing in a layer of sand and then install the earthen floor on top.
I also learned how to prevent a notorious problem that older earthen homes have had to deal with. Between the earthen floor and side walls there needs to be at least 1/2” of foam insulation to prevent the temperatures in the home from leaching out from the floor to the walls and to the outside.
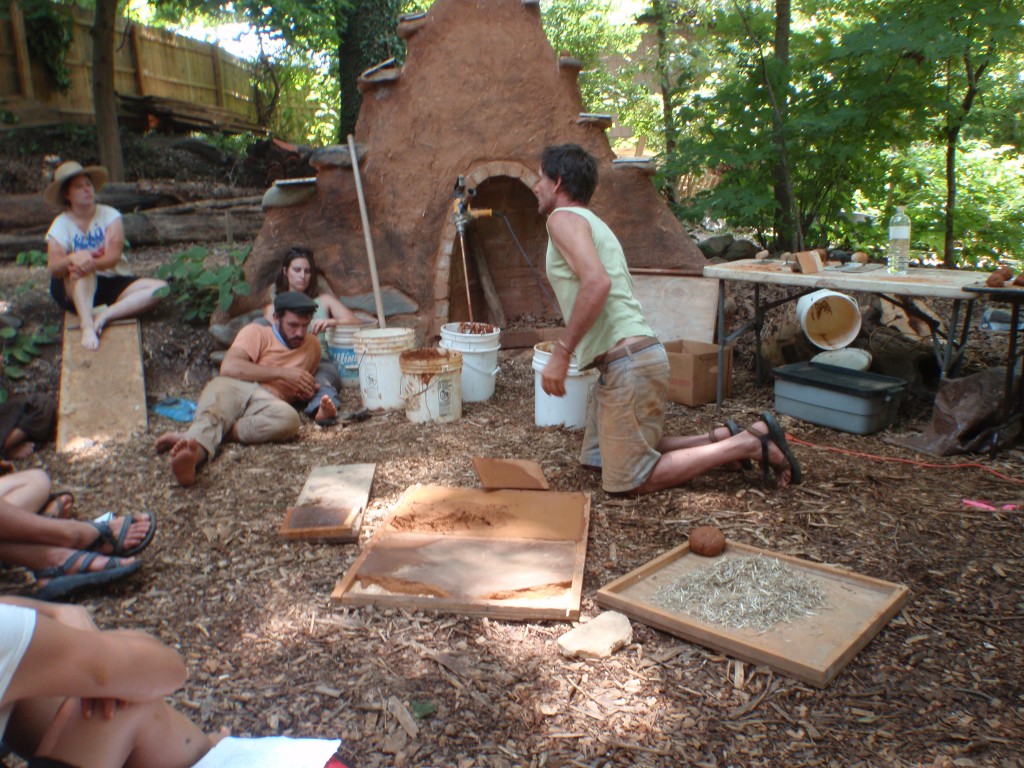
Also during the class, the need to provide an escape for radon gas was mentioned. This can be accomplished by installing 1” perforated pipe in the rock layer below the plastic and running it to the outside. I will need to research this some more in the Internet.
So there you have it, my summary of the Natural Building Extravaganza that pertains to my earthbag project. There were so many topics covered that I may use in the future for other projects such as a cob-oven, a patio made form layered stones, living green roofs, etc. Watch this video for a few of the highlights from the week:
Thanks, Keith! Below I’ll add a few more pictures from our time in Asheville and along the way home. And don’t forget to enter your email below to be notified by e-mail when I post something new to my blog!
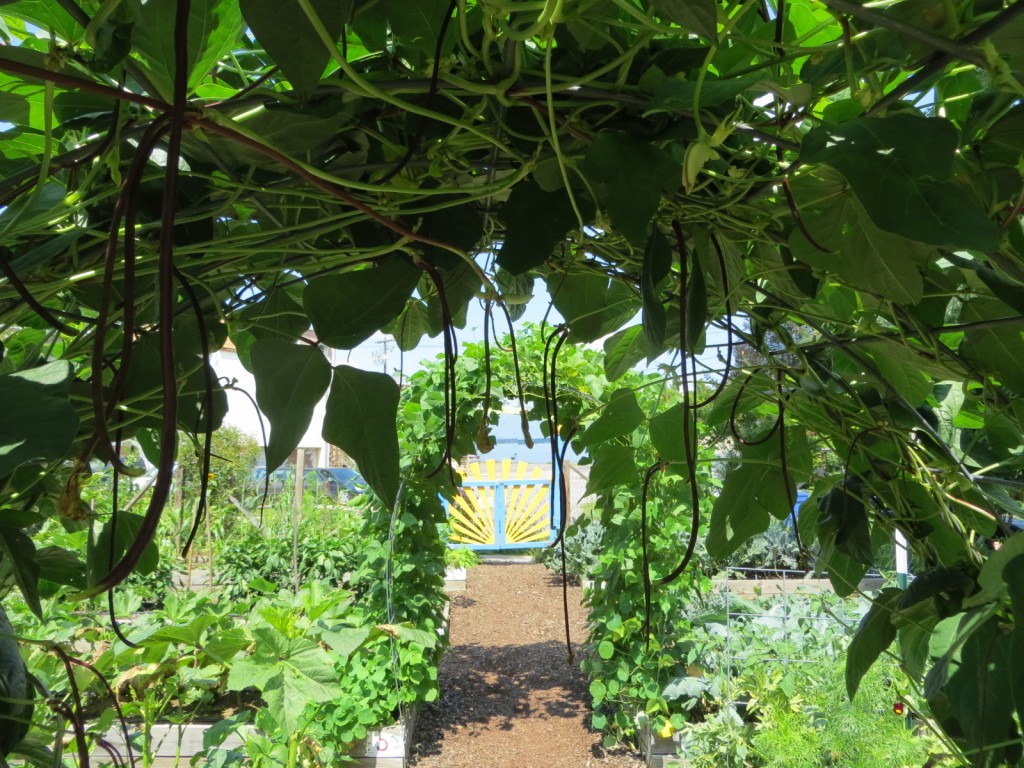
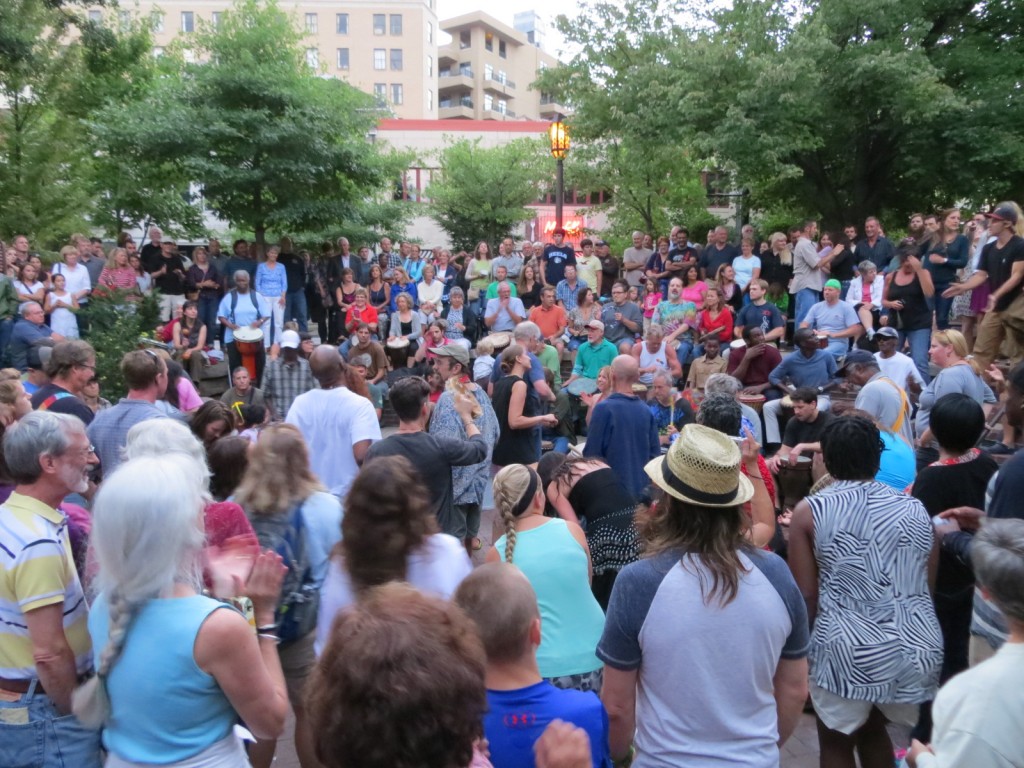

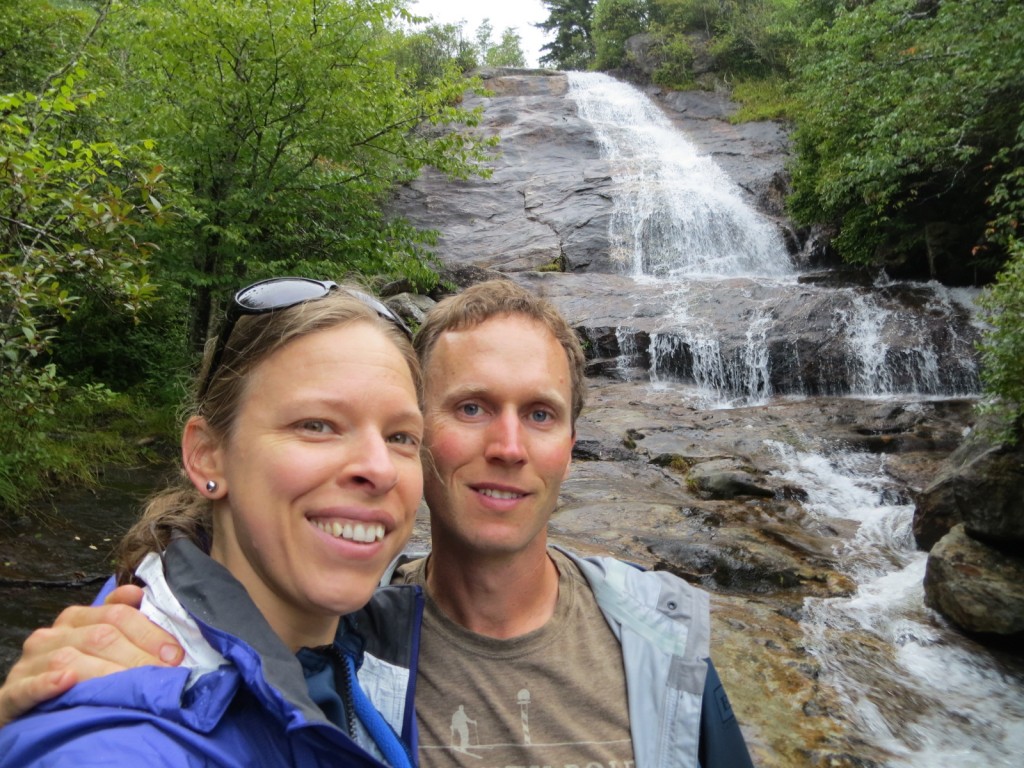
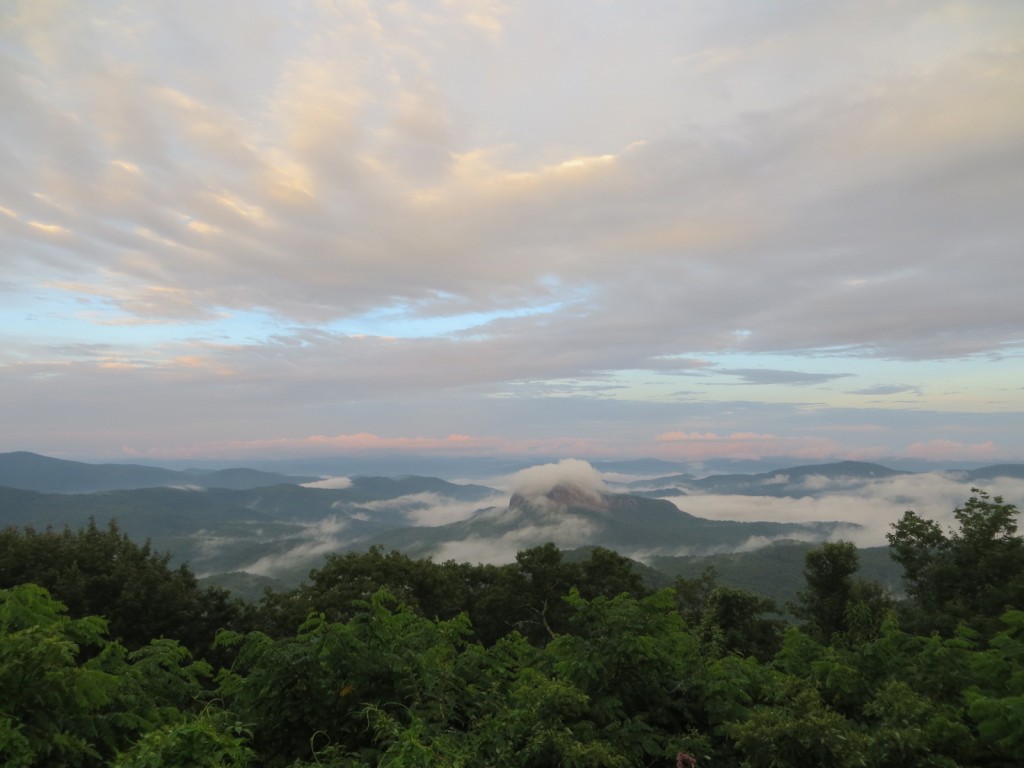
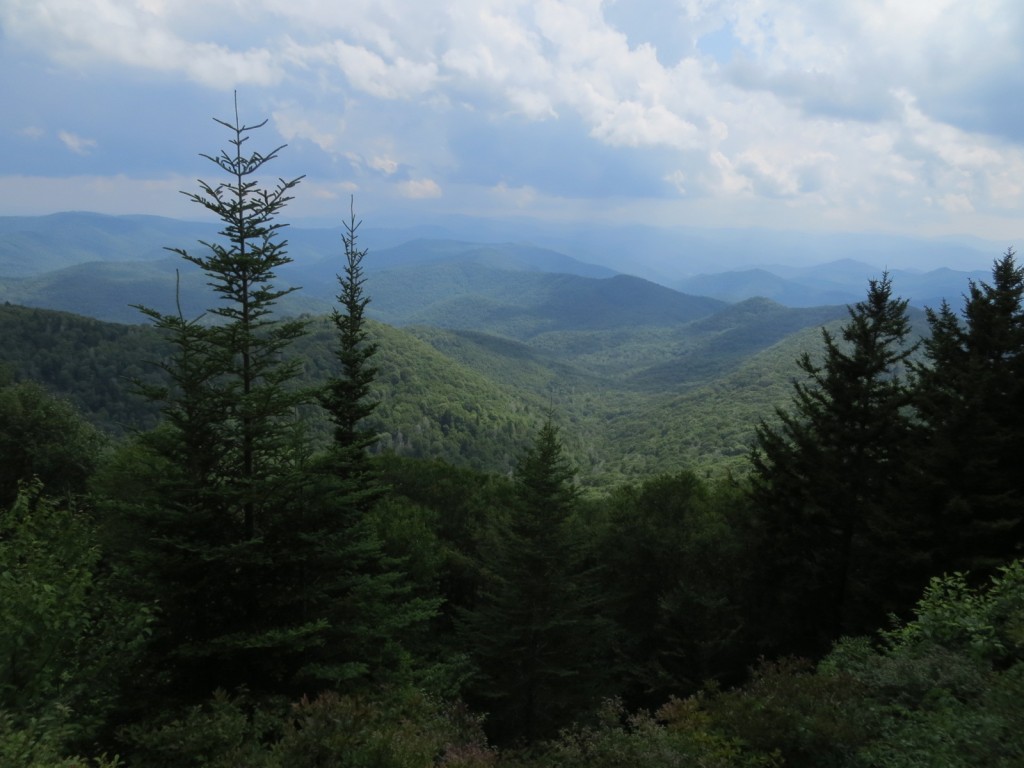
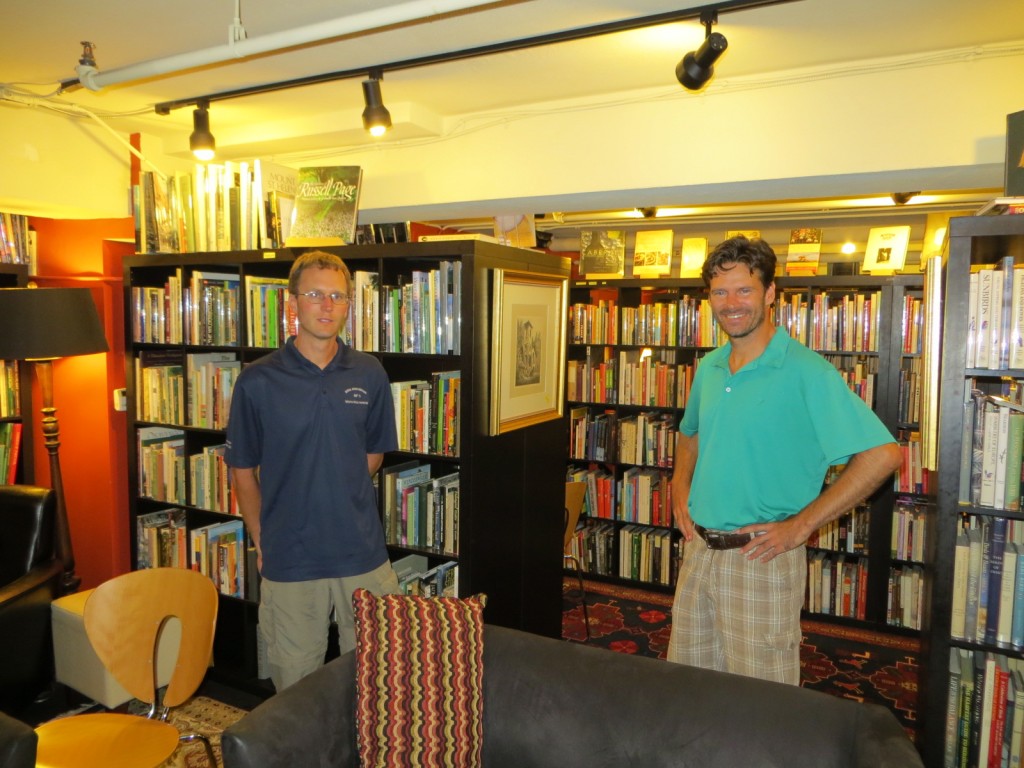
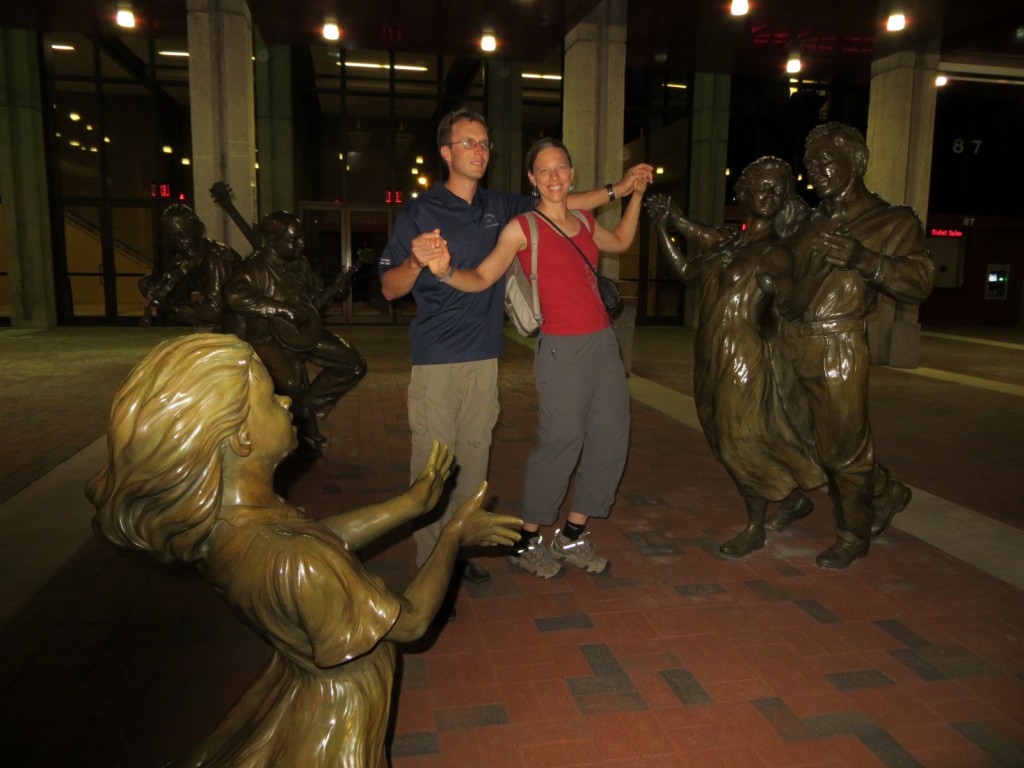
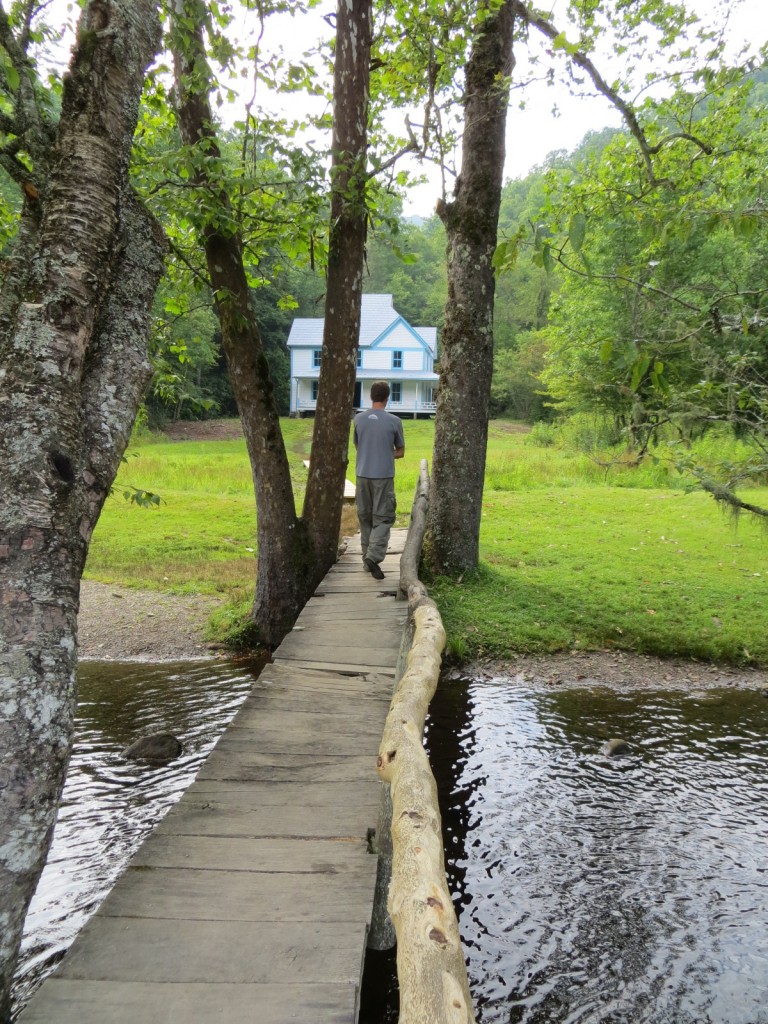
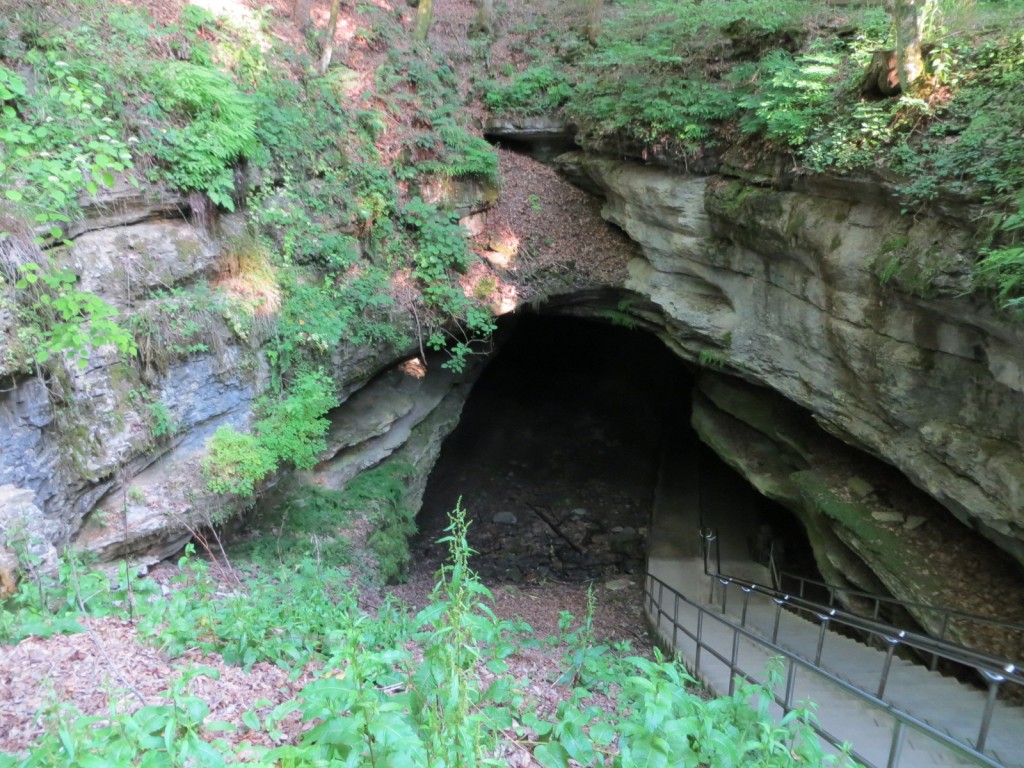
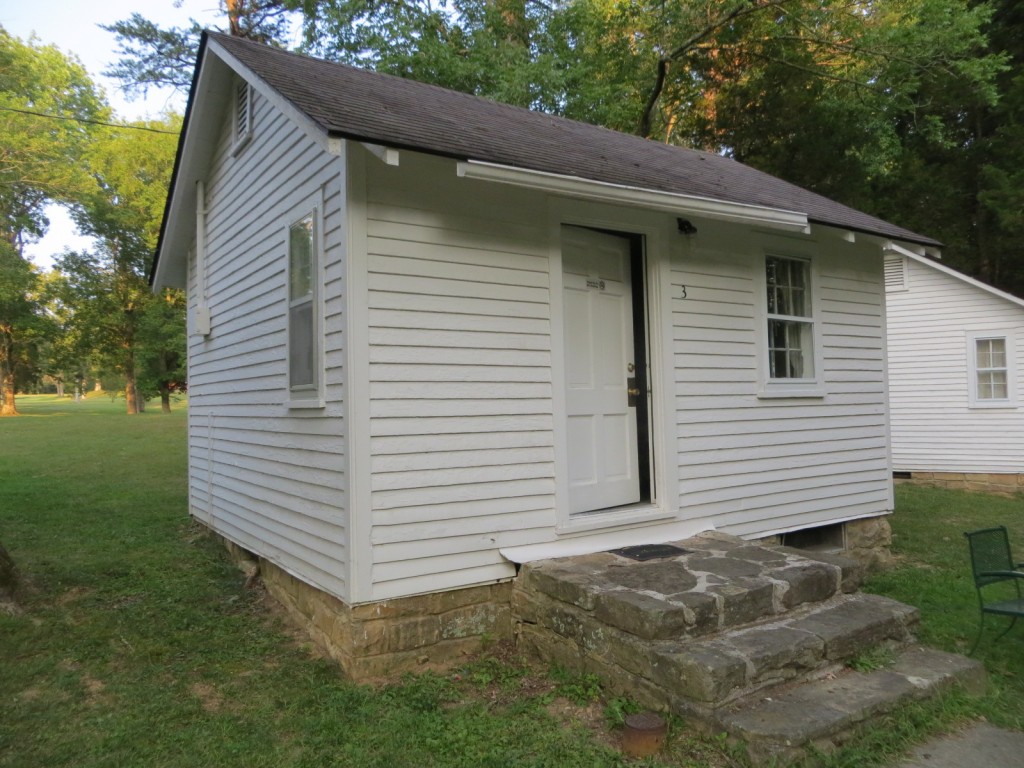
I hope you enjoyed the notes and pictures from our impromptu North Carolina trip! Lately we’ve been working on the foundation for the house, so watch out for that post!
Questions? Comments? Happy anniversary sentiments? Please leave your comment below!
Enter your name and email to receive my newsletter and stay up to date!
We hate spam as much as you. Your email is safe with us.
